Remix IDE
PolkaVM Preview Release
PolkaVM smart contracts with Ethereum compatibility are in early-stage development and may be unstable or incomplete.
-
Deploy NFTs Using Remix IDE
Mint your NFT on Polkadot's Asset Hub. Use PolkaVM and OpenZeppelin to bring your digital asset to life with Polkadot Remix IDE.
-
Deploy ERC20s Using Remix IDE
Mint your custom ERC-20 token on Polkadot's Asset Hub. Leverage PolkaVM and Polkadot Remix IDE to bring your blockchain project to life.
Warning
The Polkadot Remix IDE's contract compilation functionality is currently limited to Google Chrome. Alternative browsers are not recommended for this task.
Overview
Remix IDE is a robust browser-based development environment for smart contracts. This guide will walk you through the essentials of the Polkadot Remix IDE to understand the processes of compiling, developing, and deploying smart contracts on Asset Hub.
Prerequisites
Before getting started, ensure you have:
- A web browser with Talisman extension installed
- Basic understanding of Solidity programming
- Some WND test tokens to cover transaction fees (easily obtainable from the Polkadot faucet)
Accessing Remix IDE
Navigate to https://remix.polkadot.io/. The interface will load with a default workspace containing sample contracts.
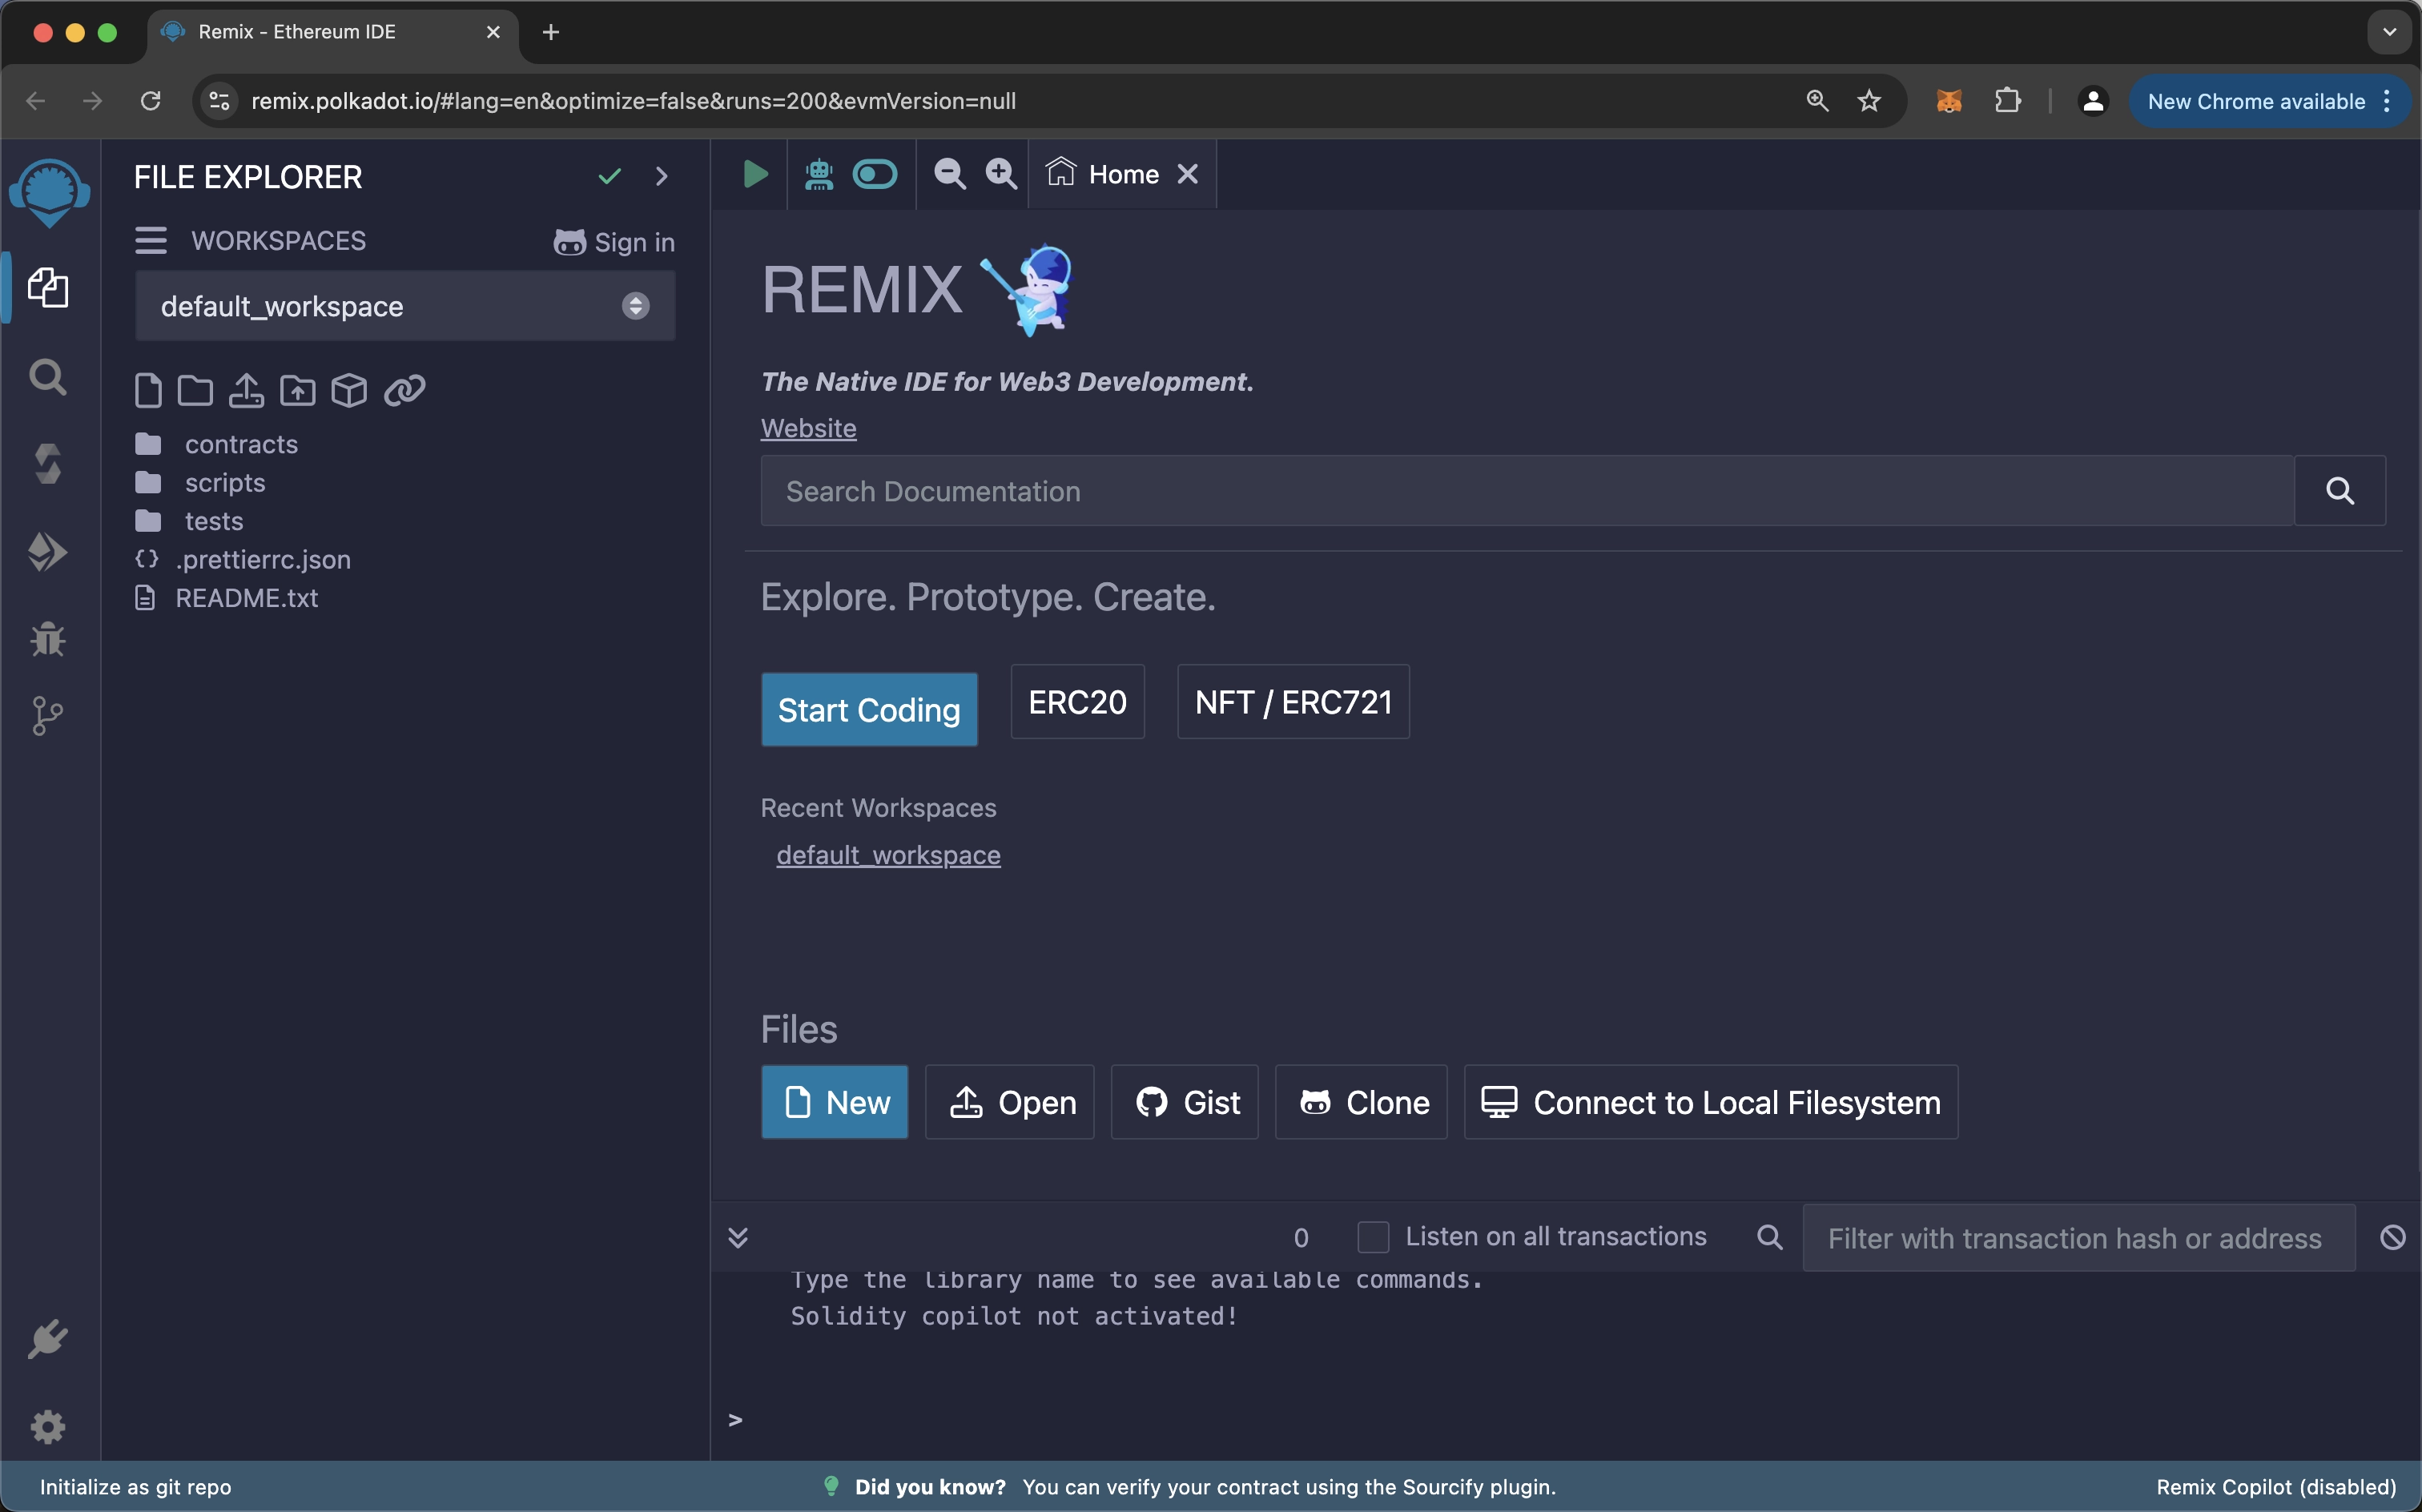
In this interface, you can access a file explorer, edit your code, interact with various plugins for development, and use a terminal.
Creating a New Contract
To create a new contract using the Polkadot Remix IDE, you can follow these steps:
-
Select the Create a new file button in the
contractsfolder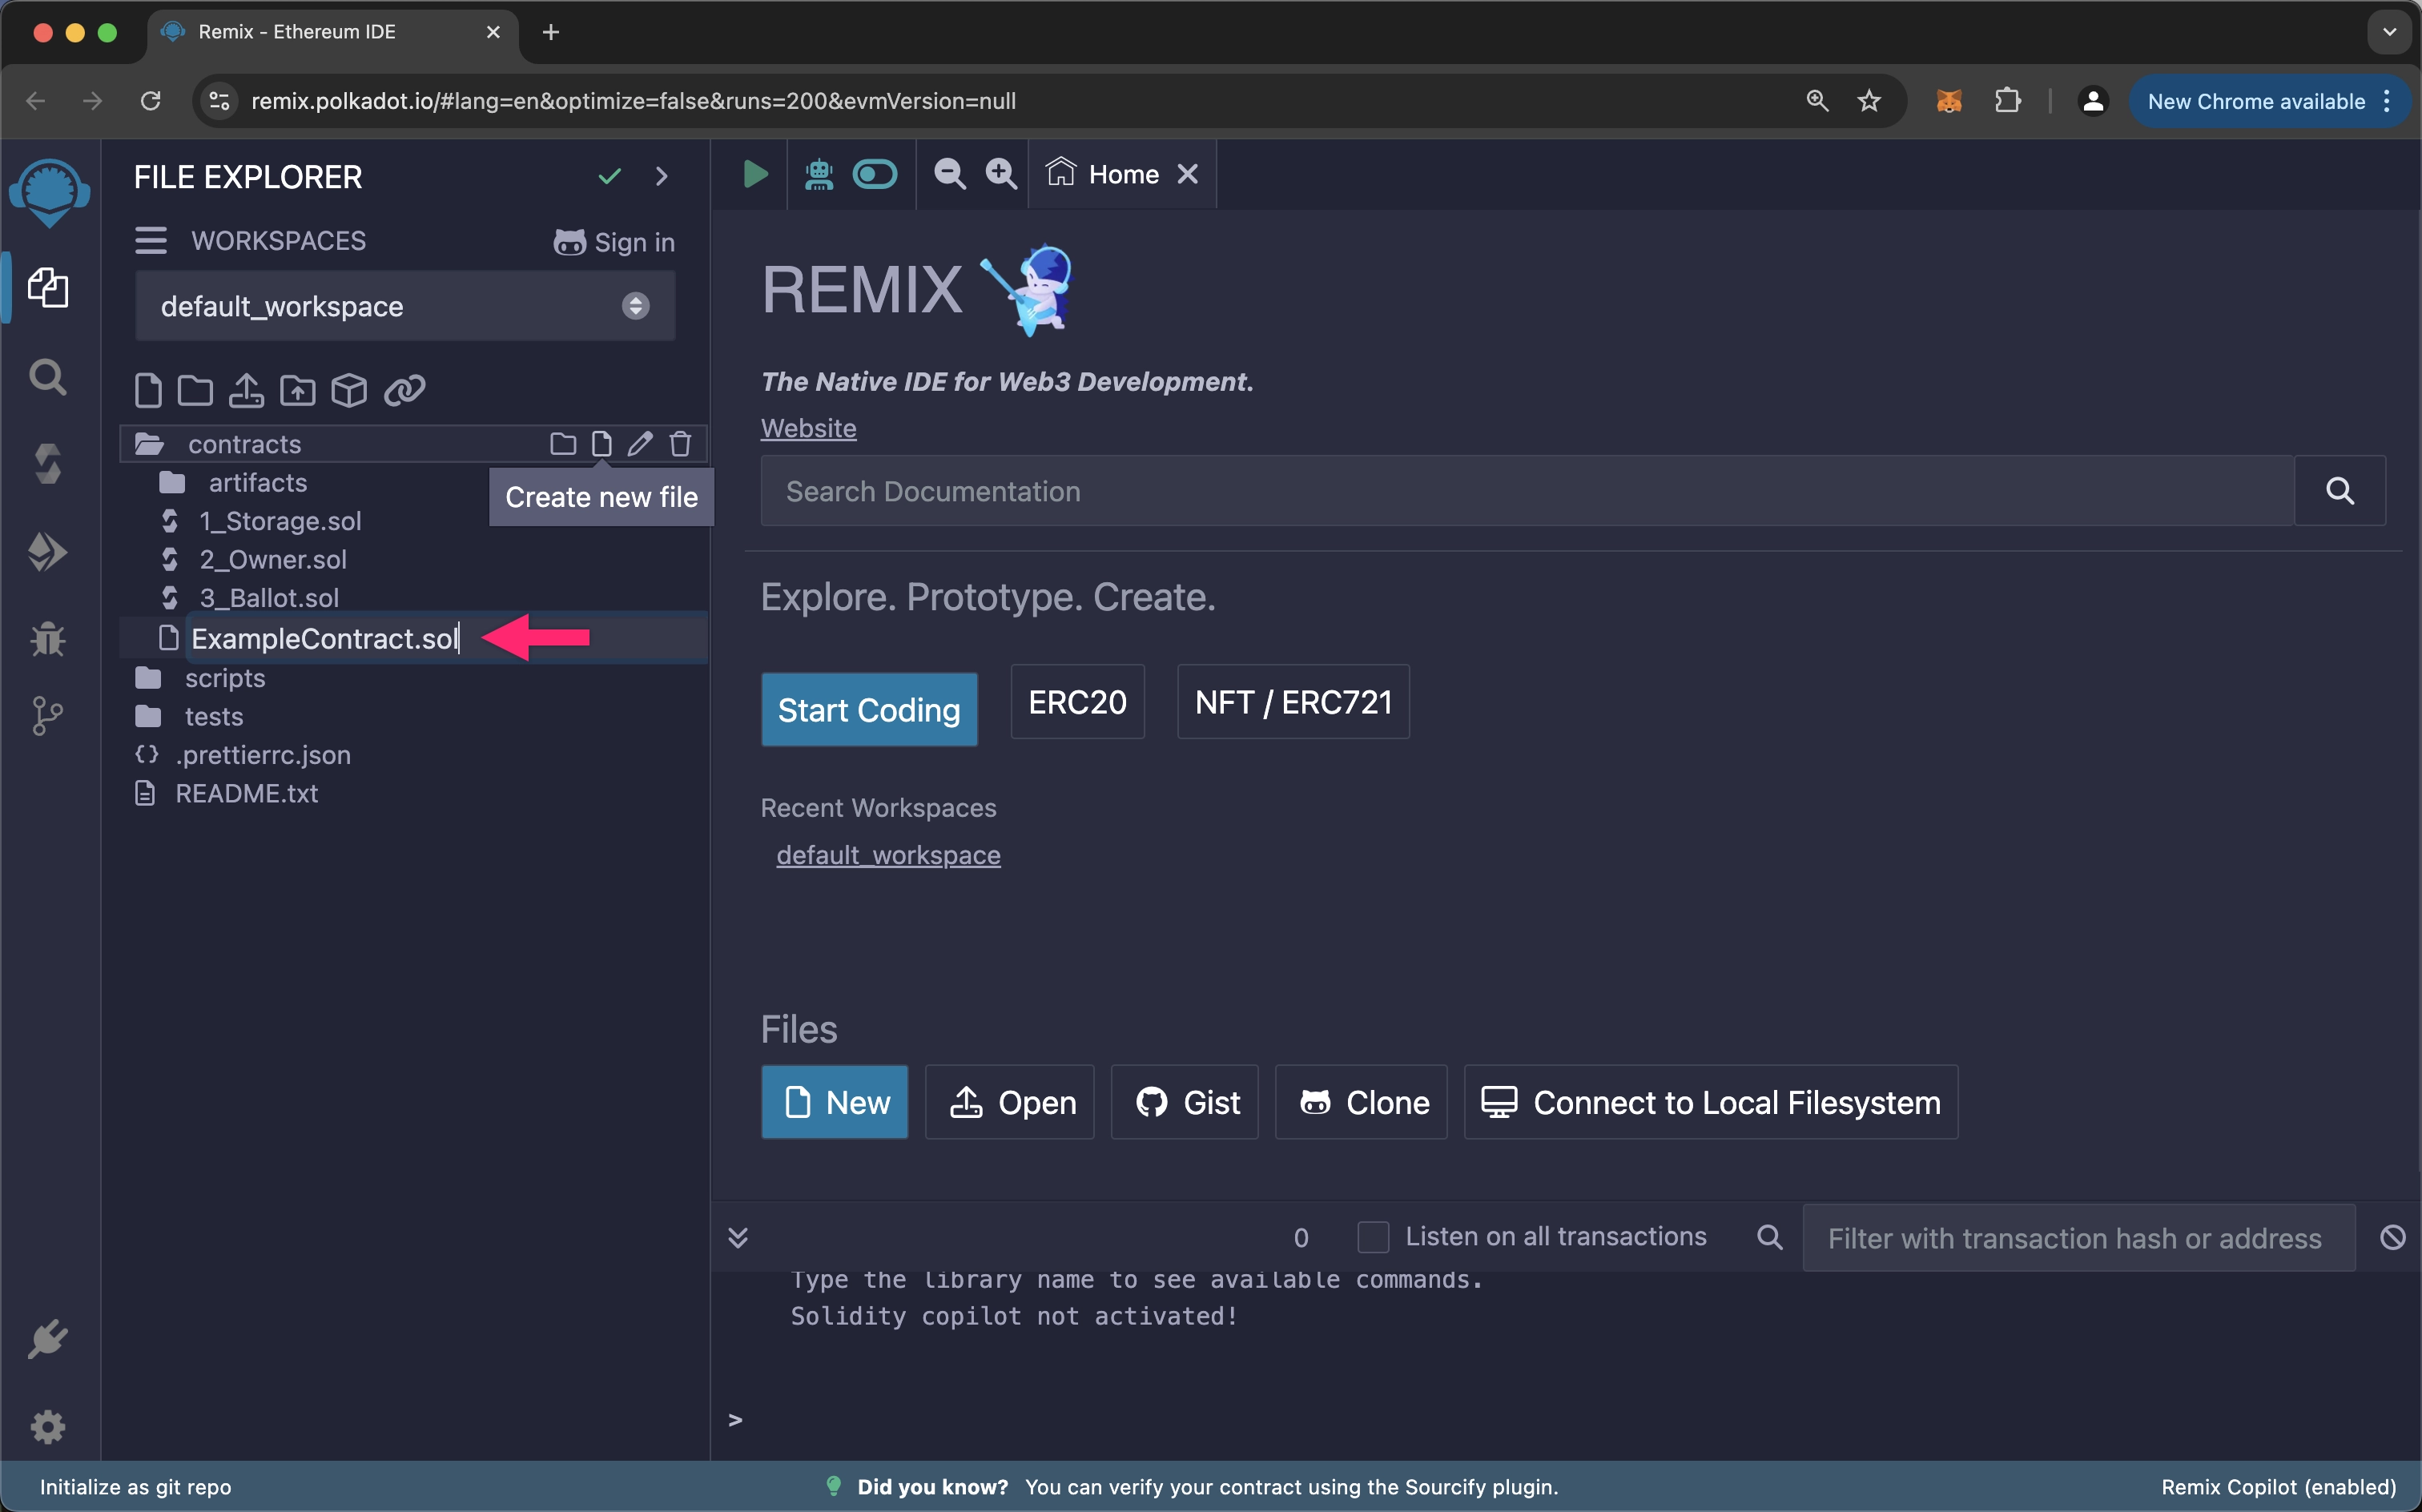
-
Name your file with a
.solextension, in this case,Counter.sol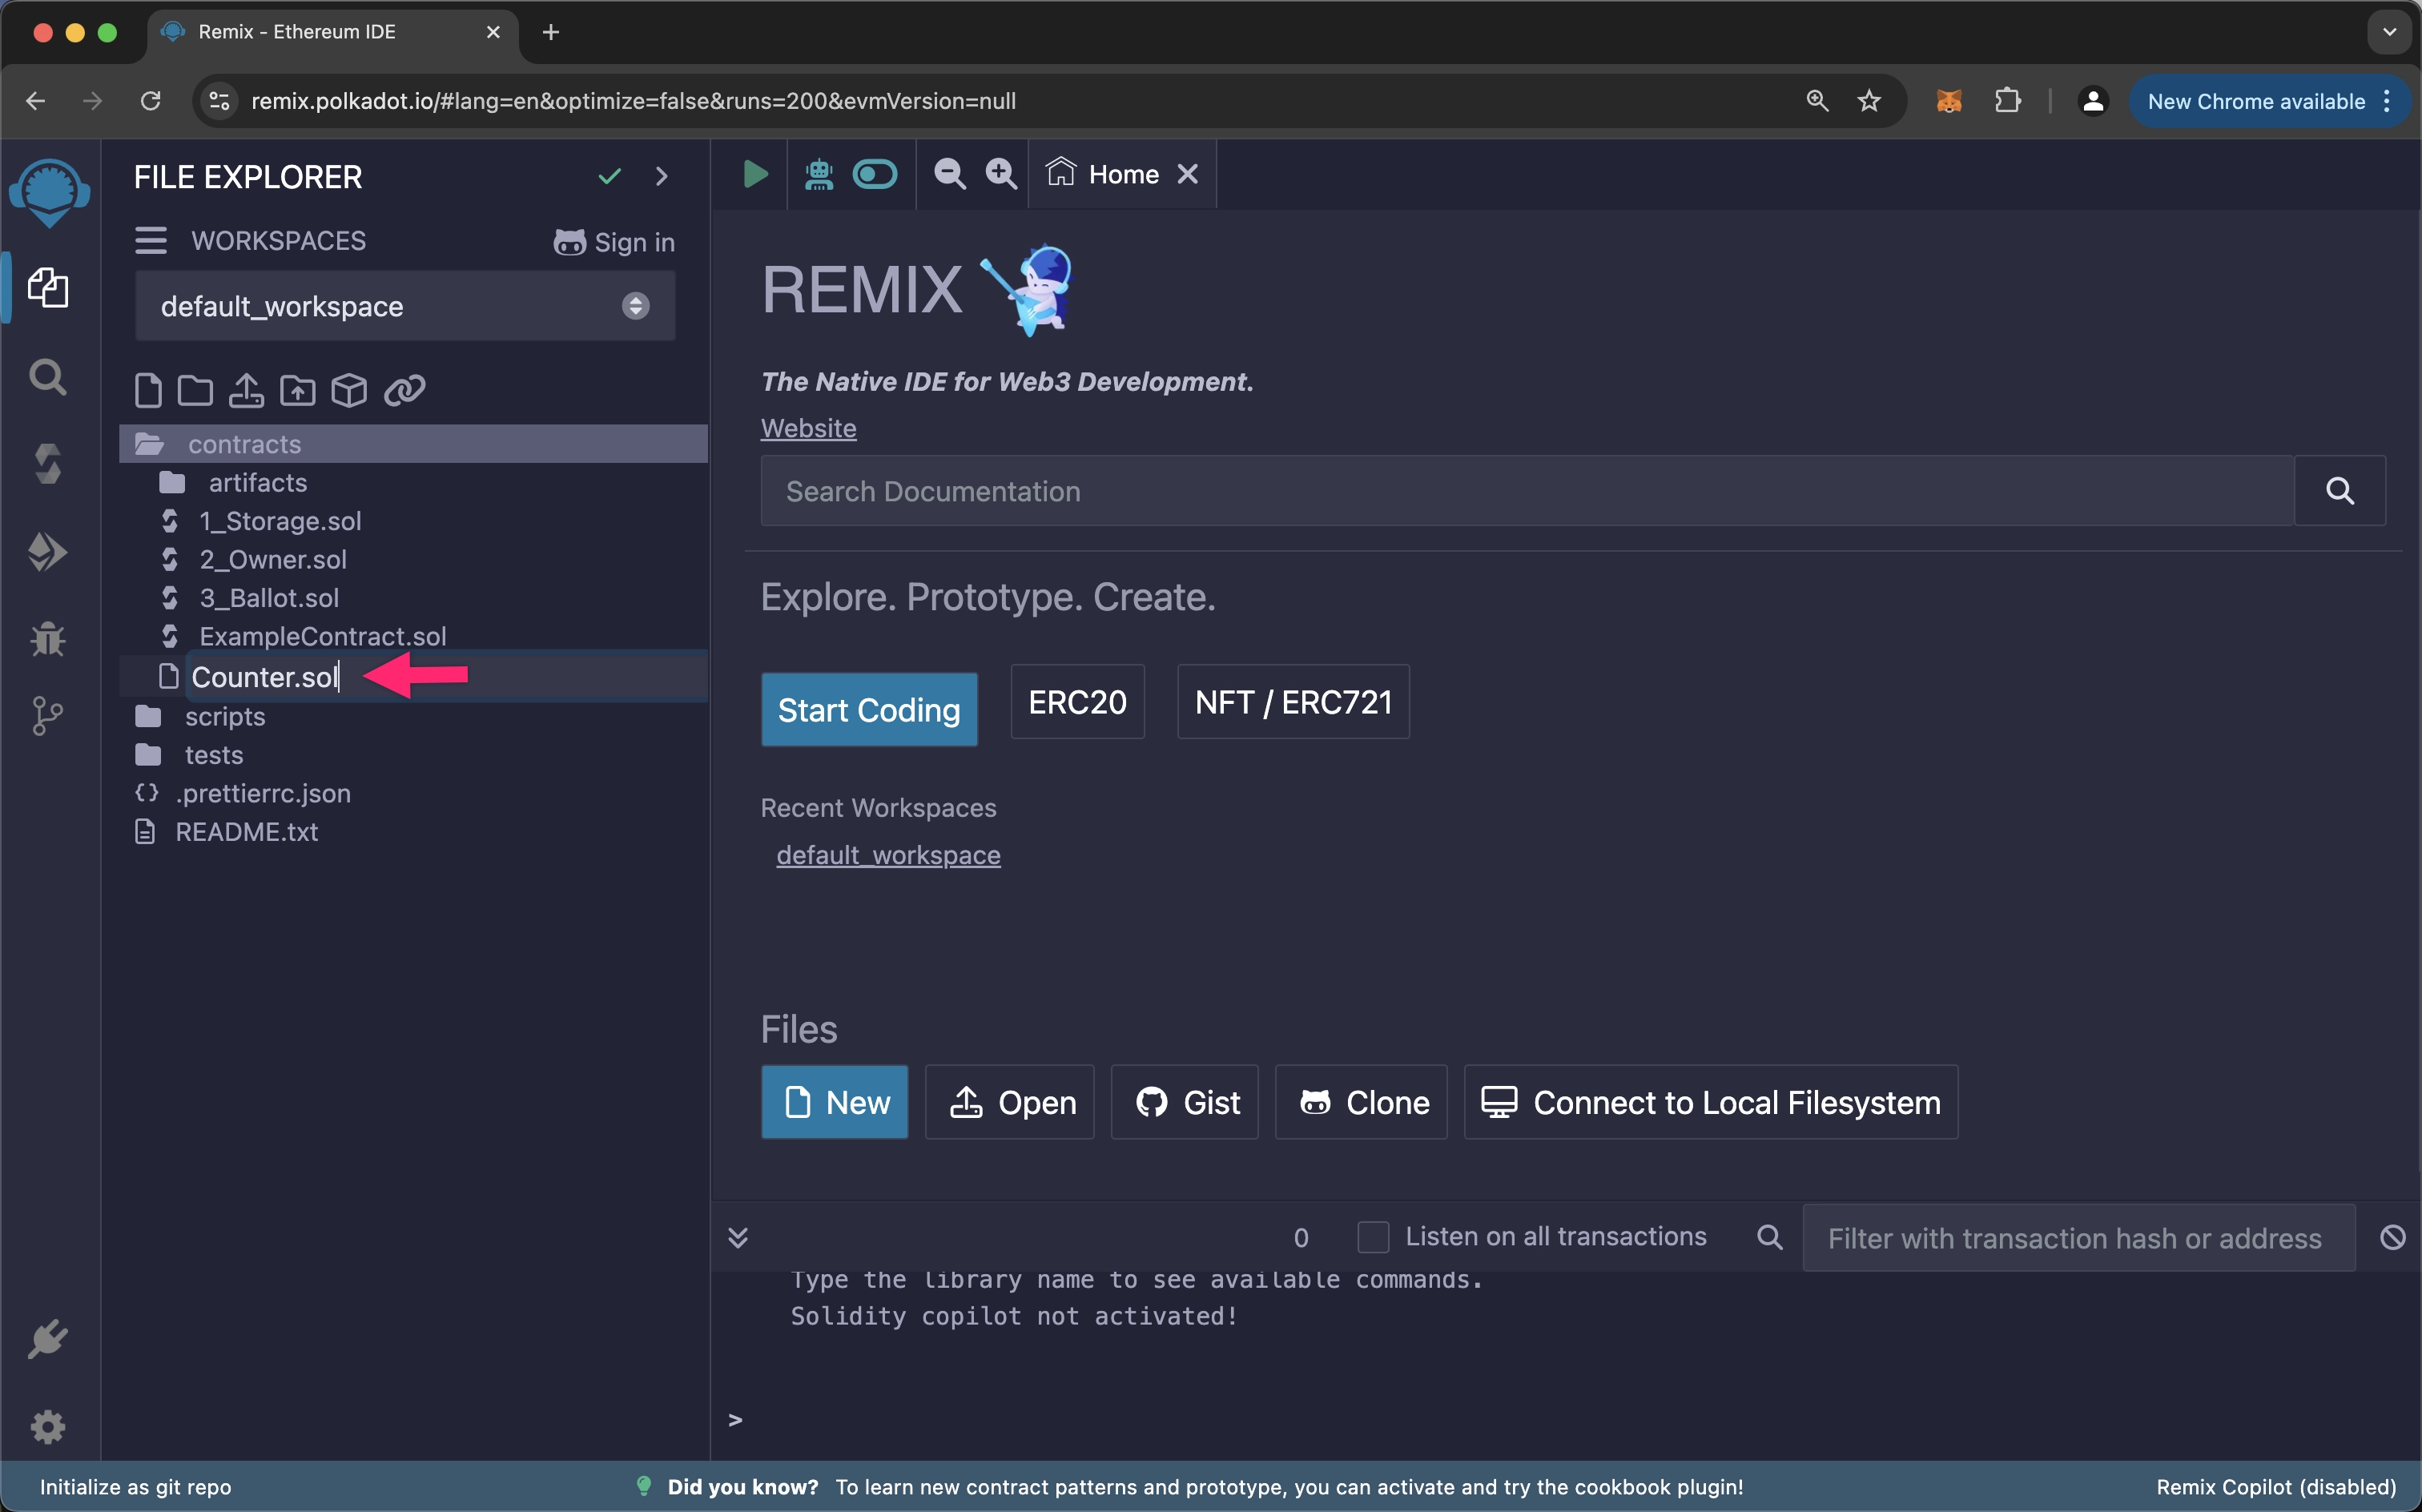
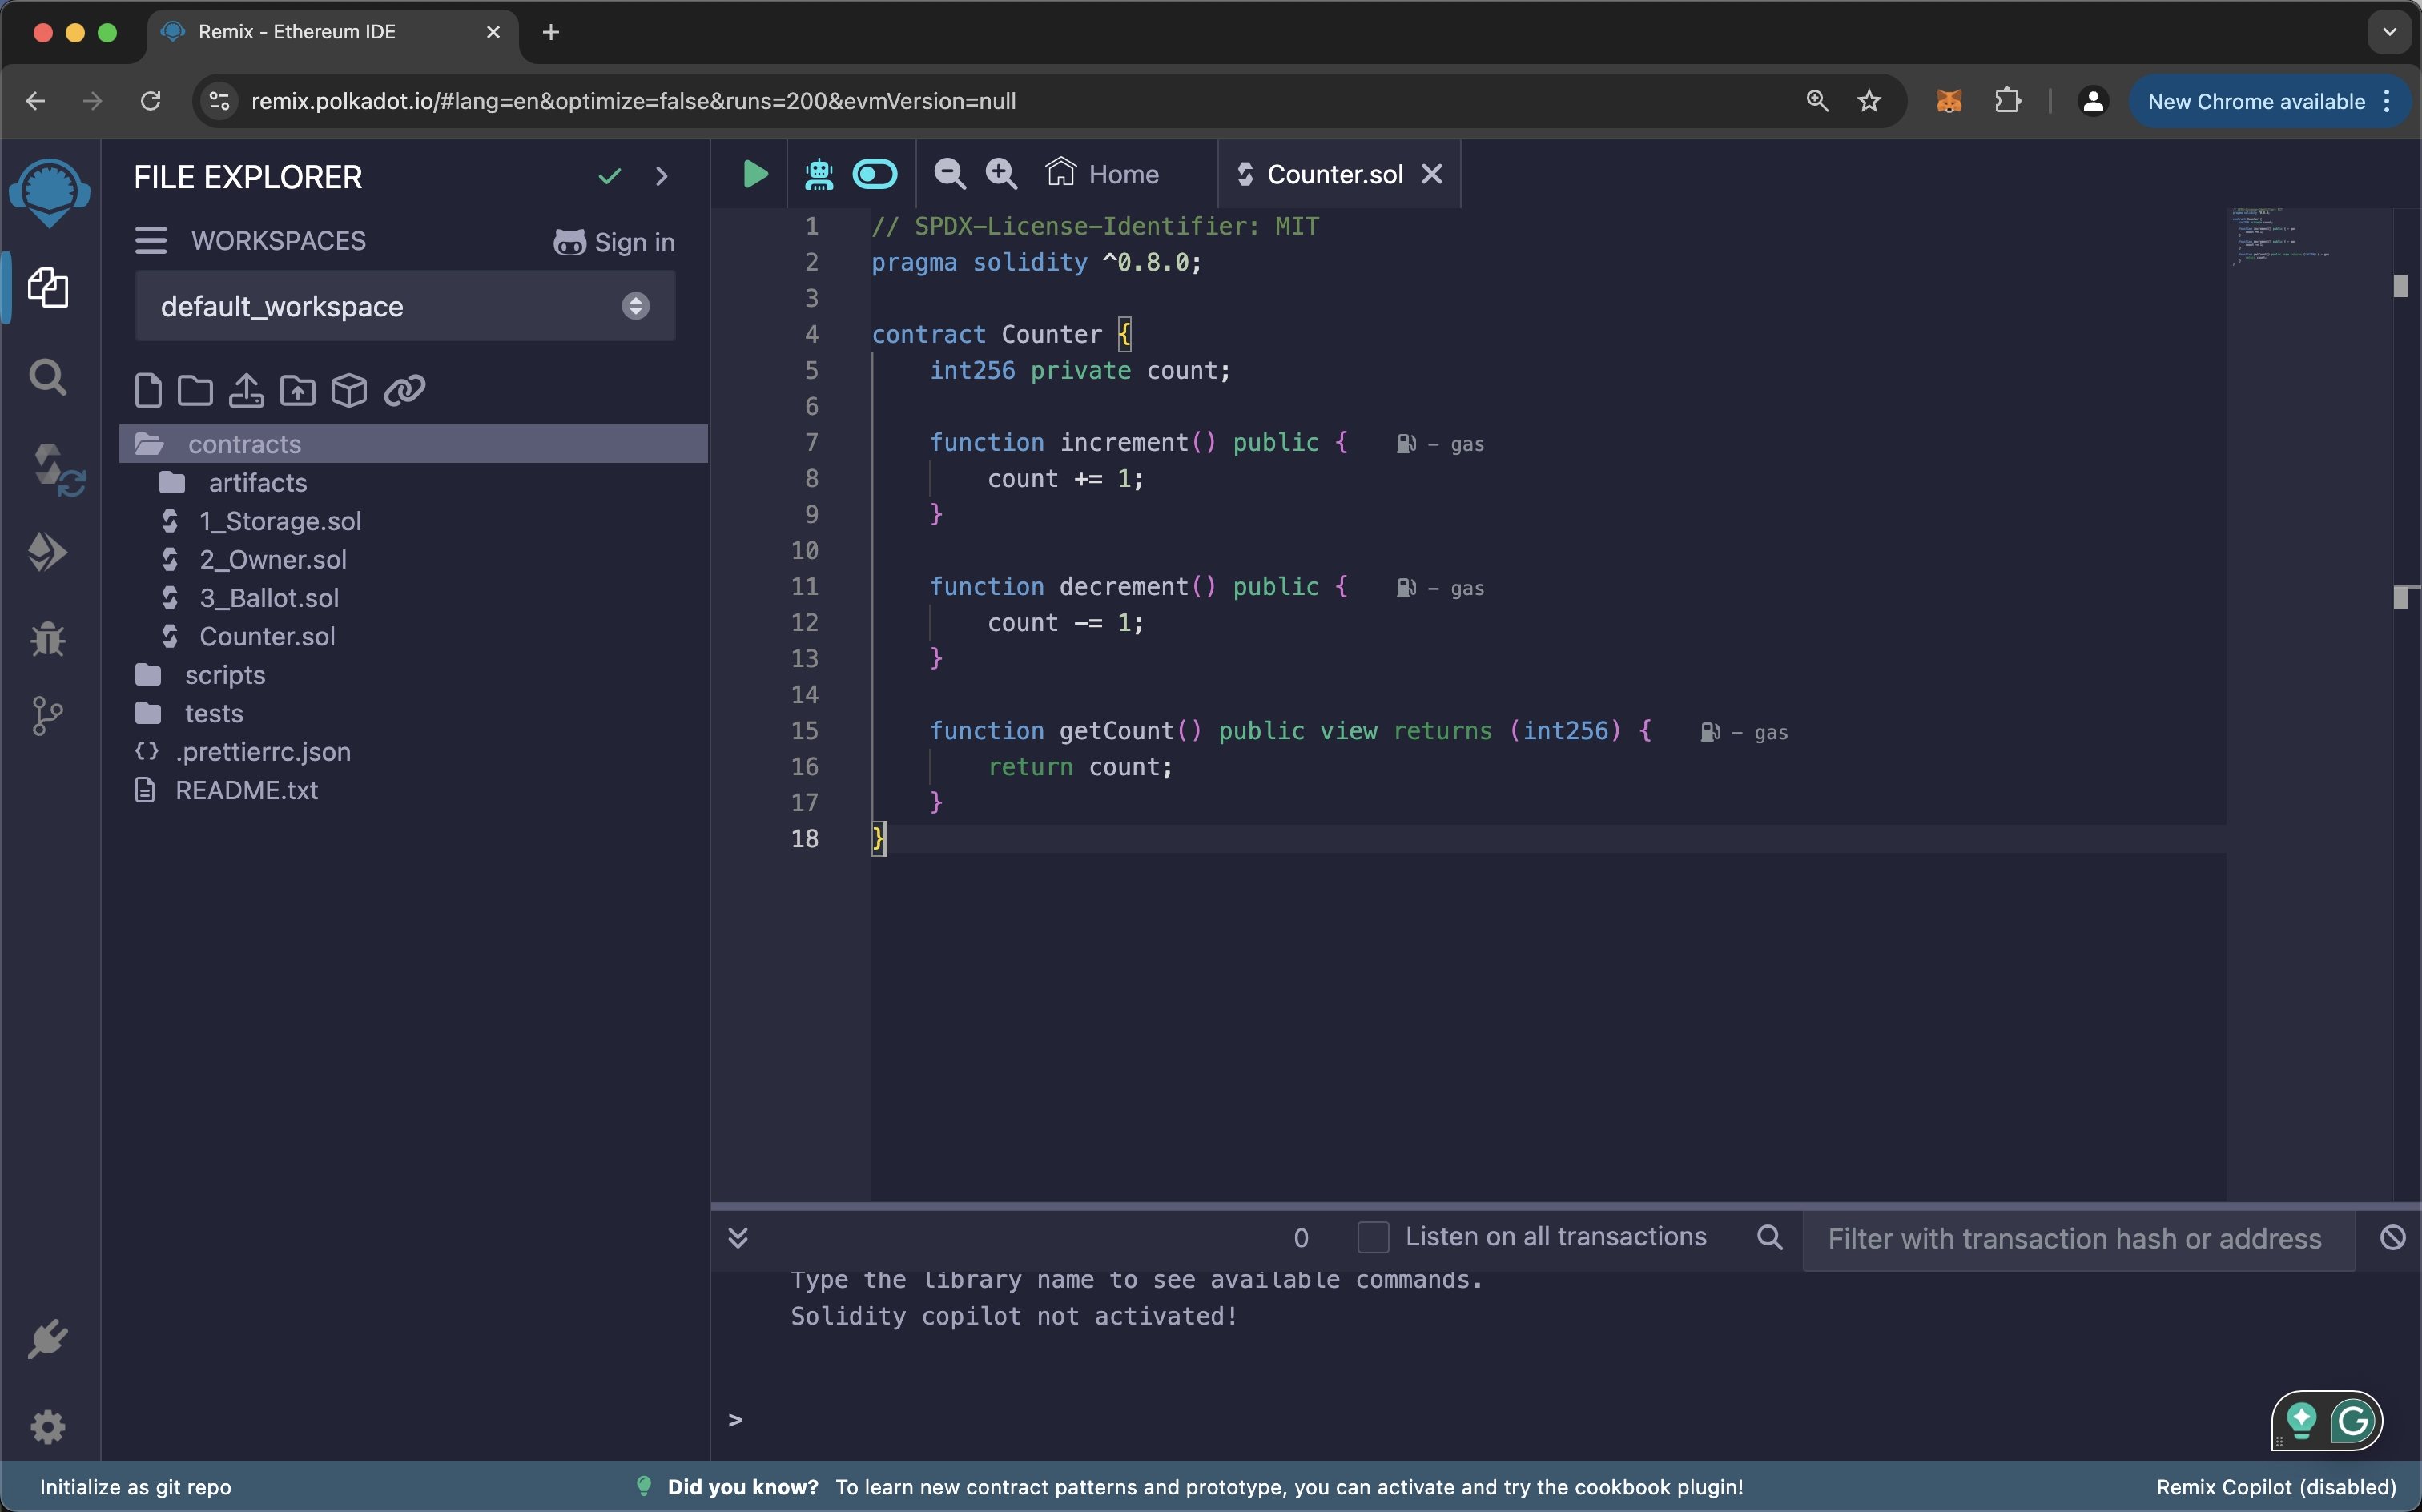
-
Write your Solidity code in the editor
You can use the following code as an example:
Counter.sol
Compiling Your Contract
-
To compile your contract, you need to:
- Navigate to the Solidity Compiler tab (third icon in the left sidebar)
-
Select Compile or use
Ctrl+S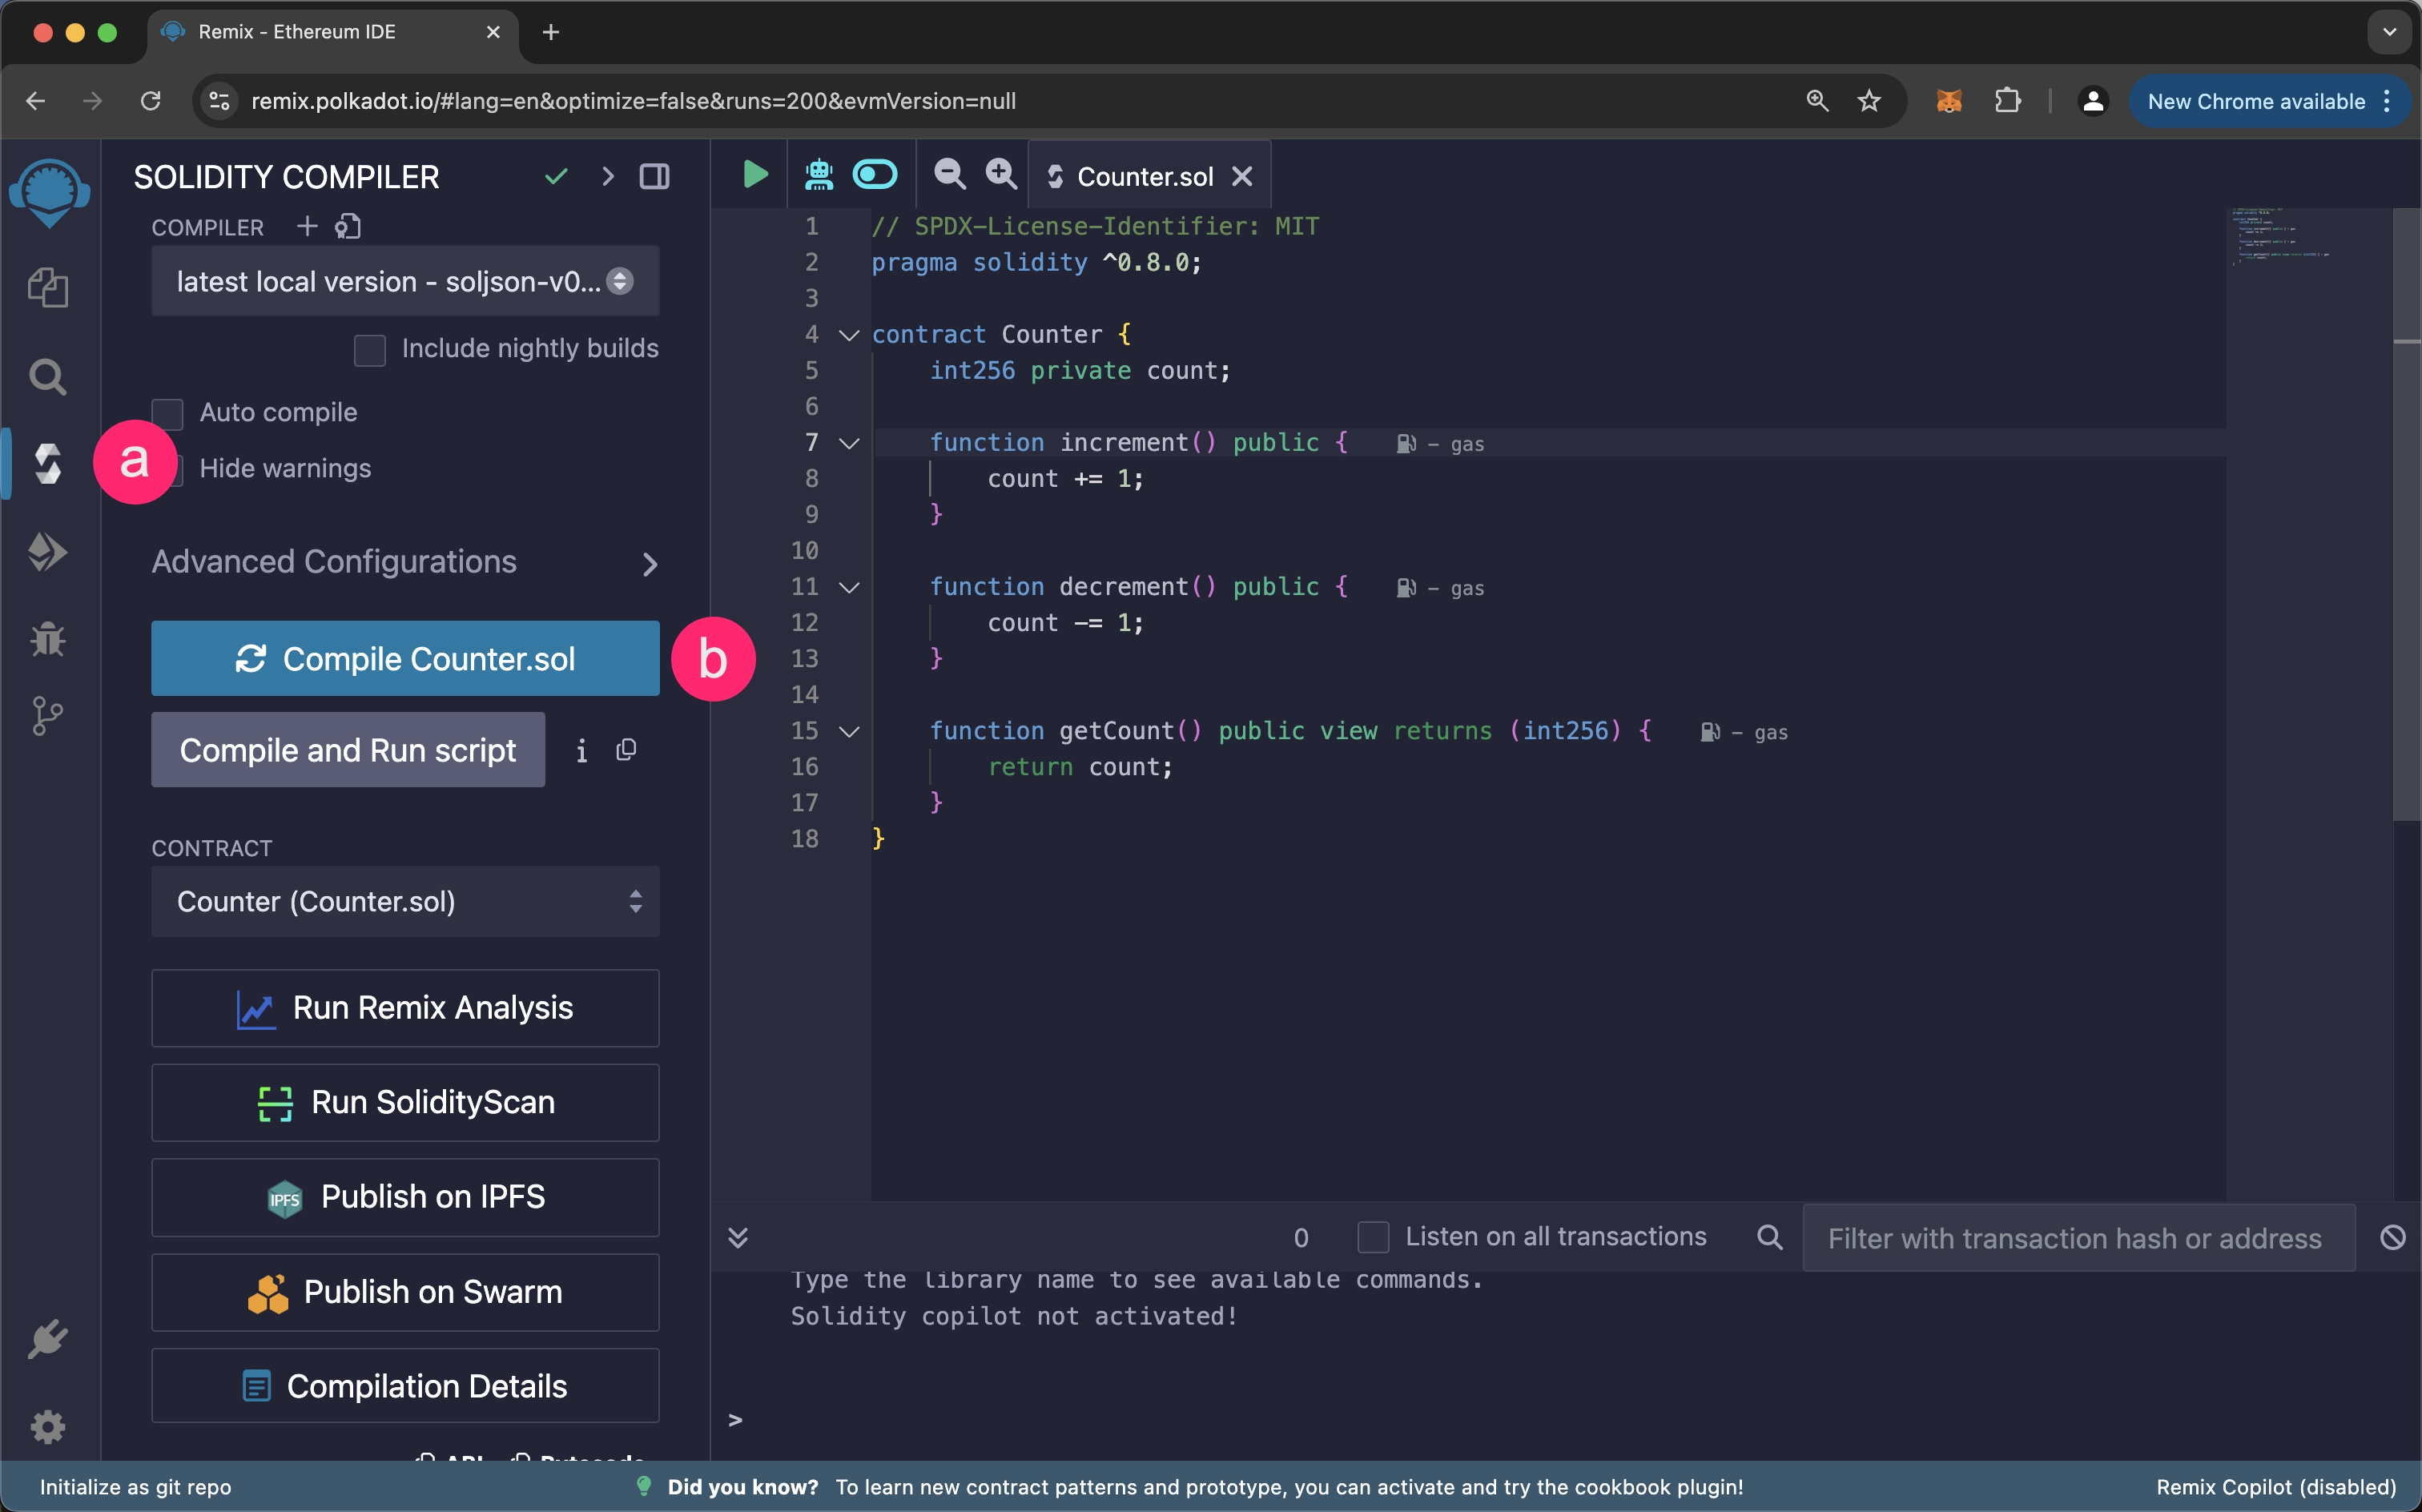
Note
Compilation errors and warnings appear in the terminal panel at the bottom of the screen.
-
After compiling your contract, you can navigate to the File Explorer tab (first icon in the left sidebar) and check that:
- The
artifactfolder is present -
The
Counter_metadata.jsonand theCounter.jsonfiles have been generated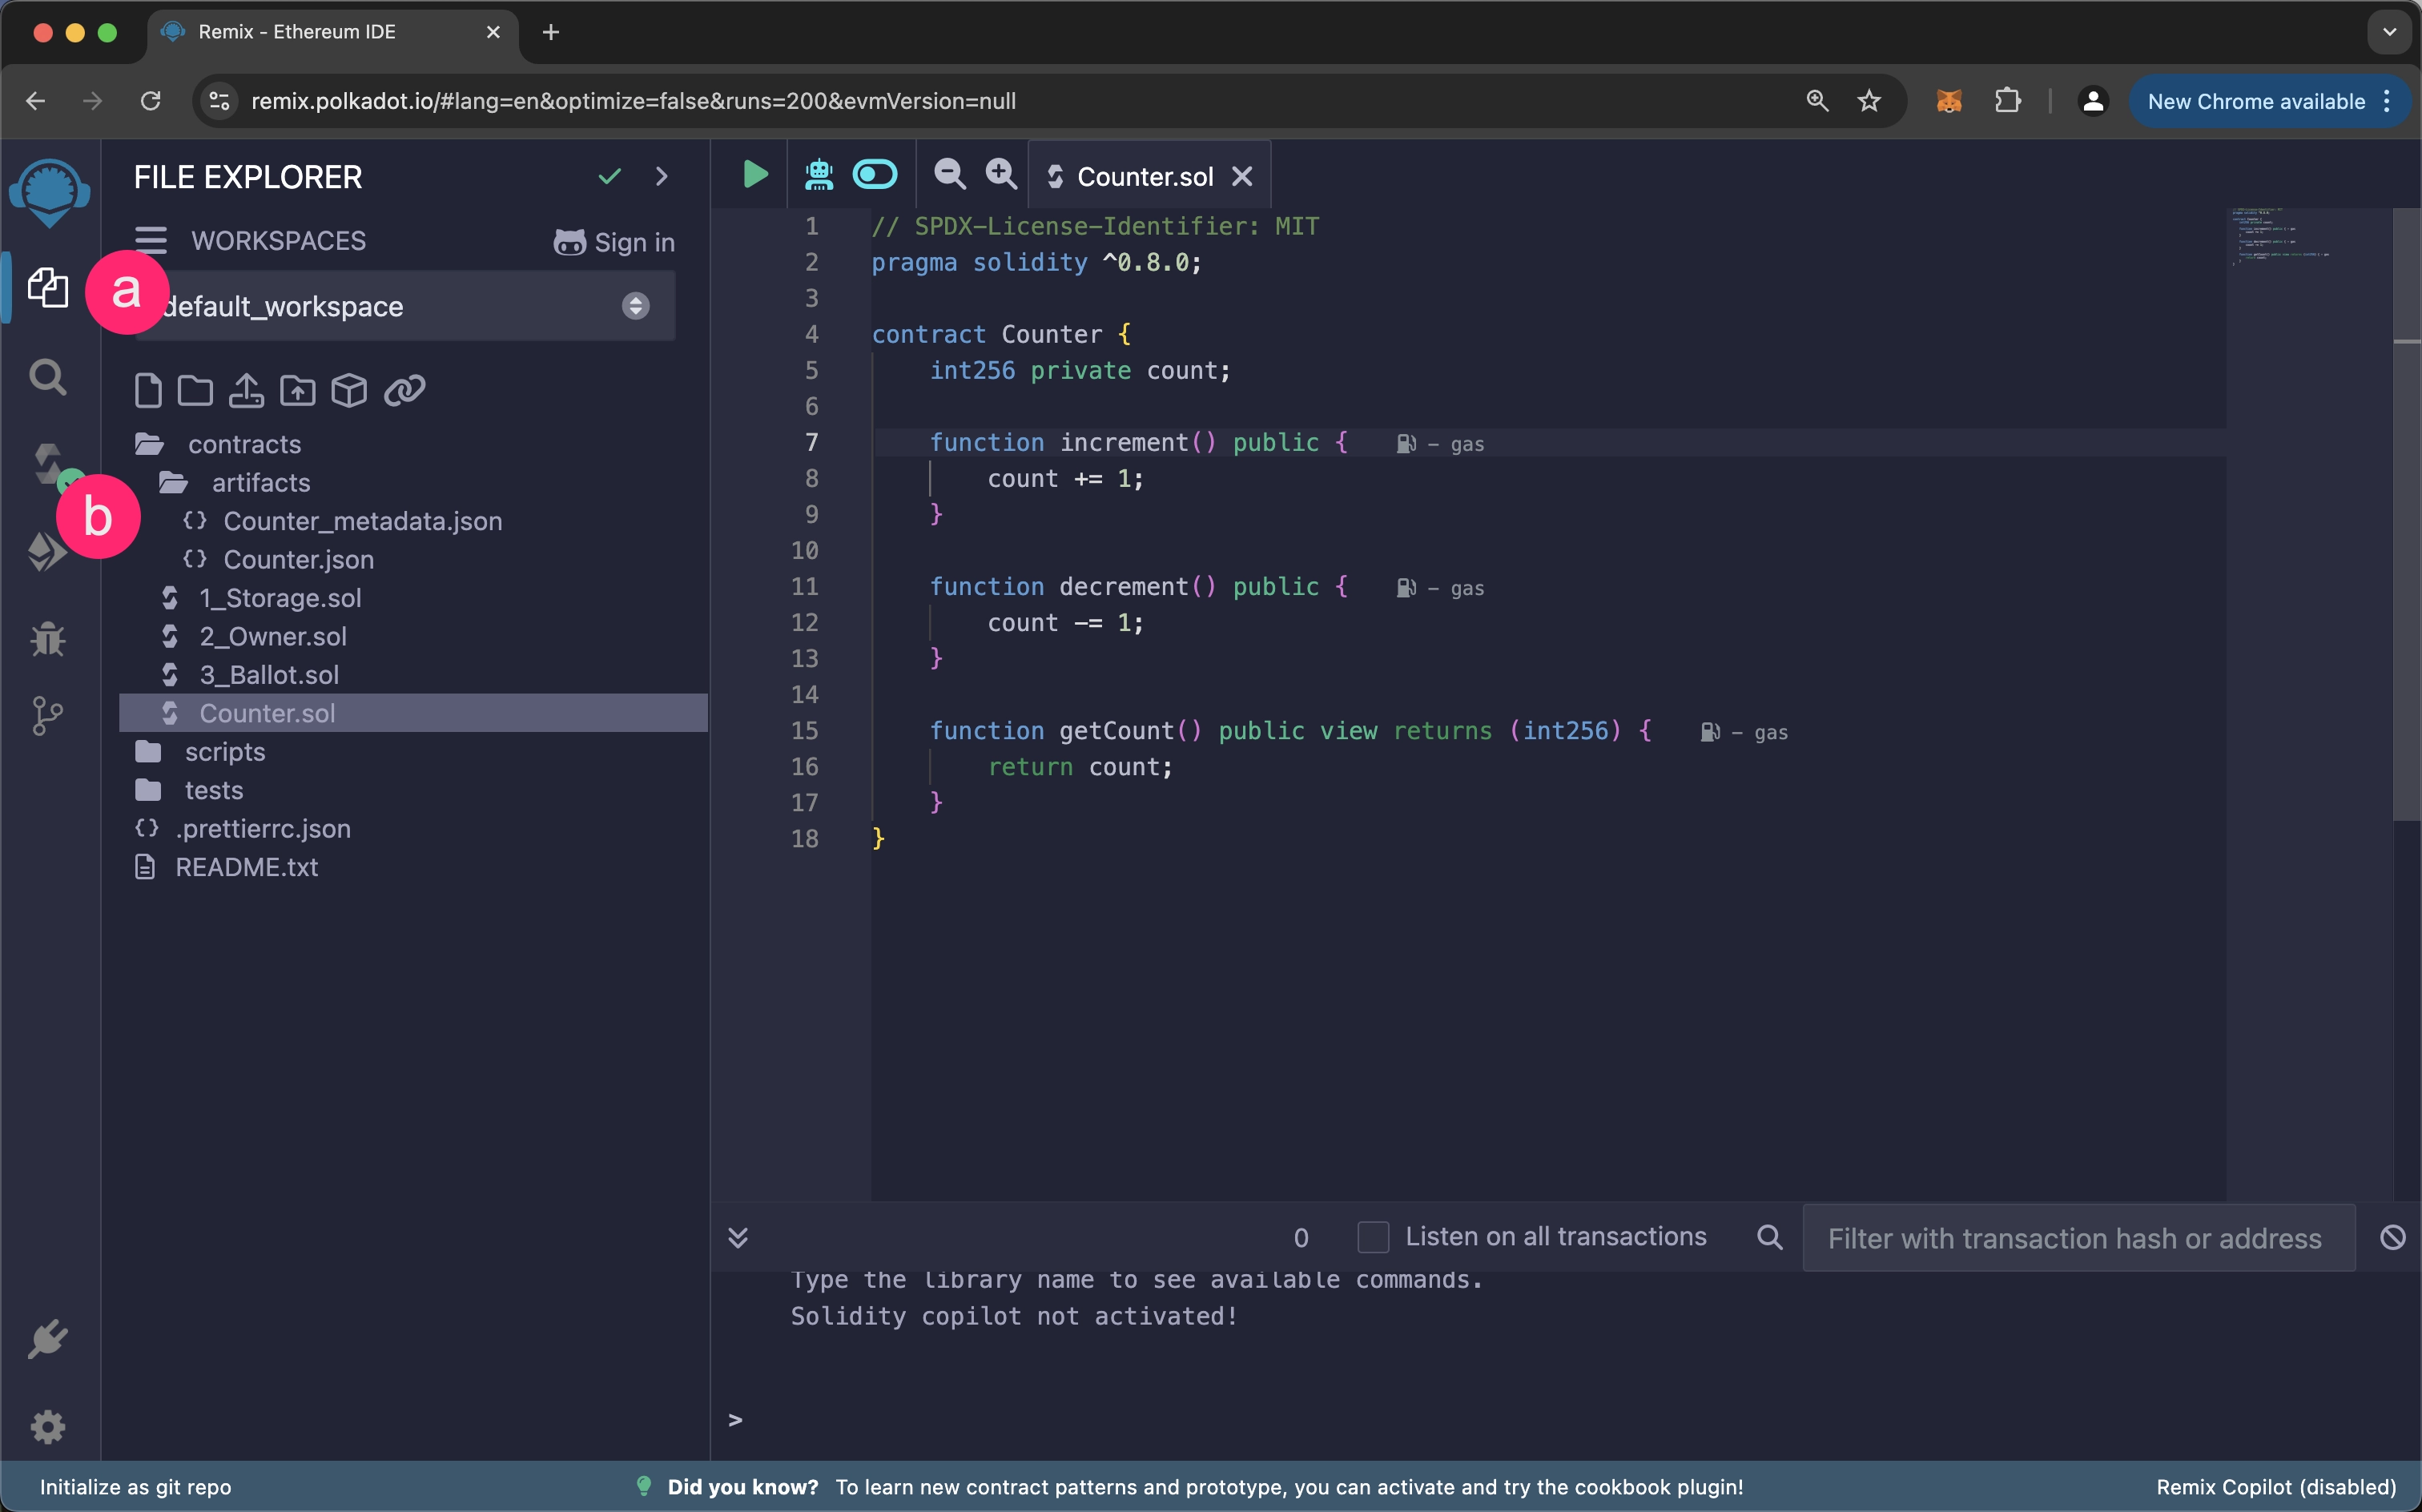
- The
Deploying Contracts
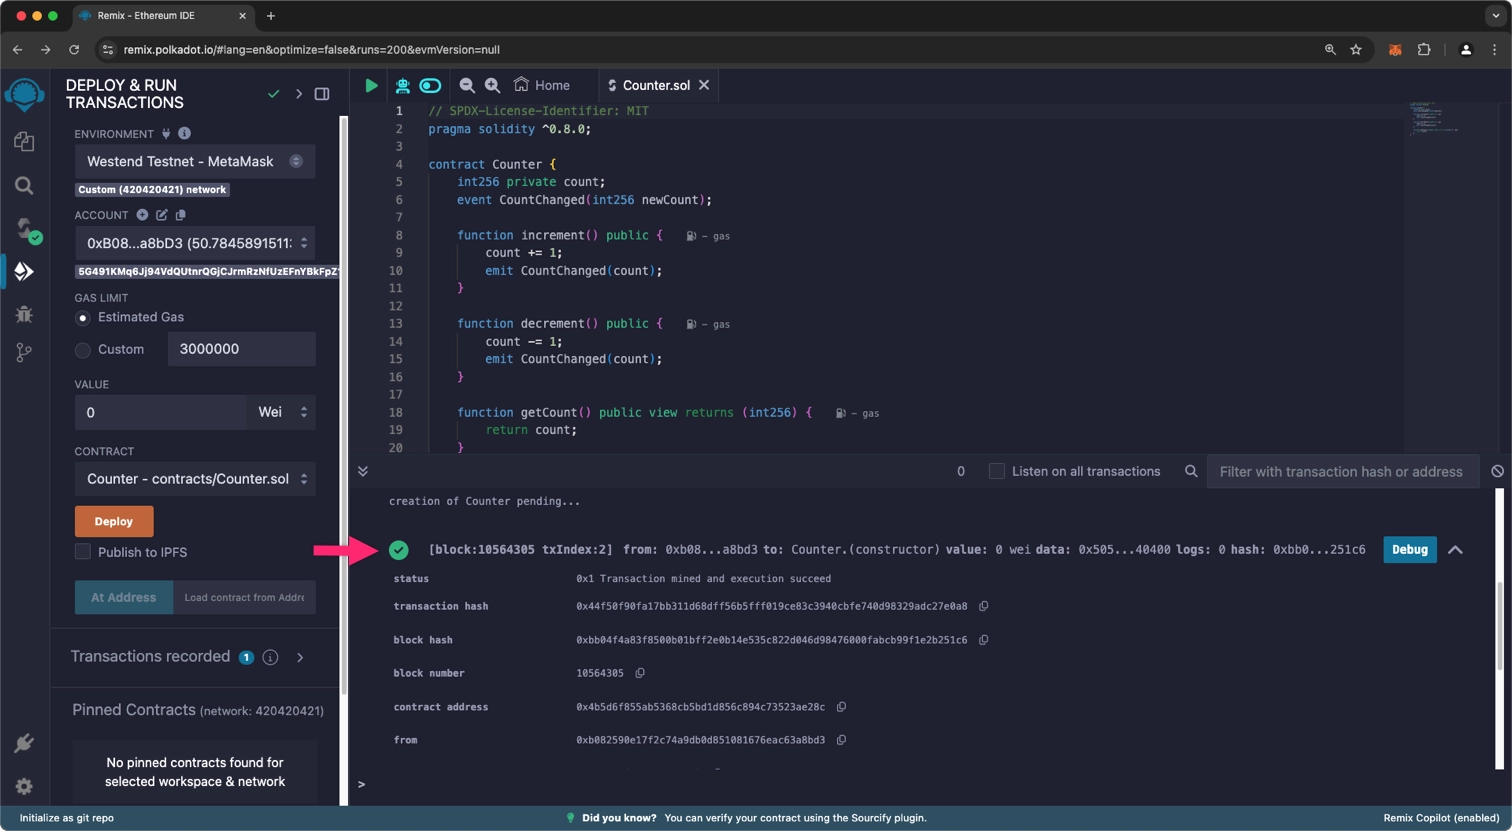
-
To deploy your contract, you need to:
- Navigate to the Deploy & Run Transactions tab (fourth icon in the left sidebar)
- Click the Enviroment dropdown
-
Select Customize this list
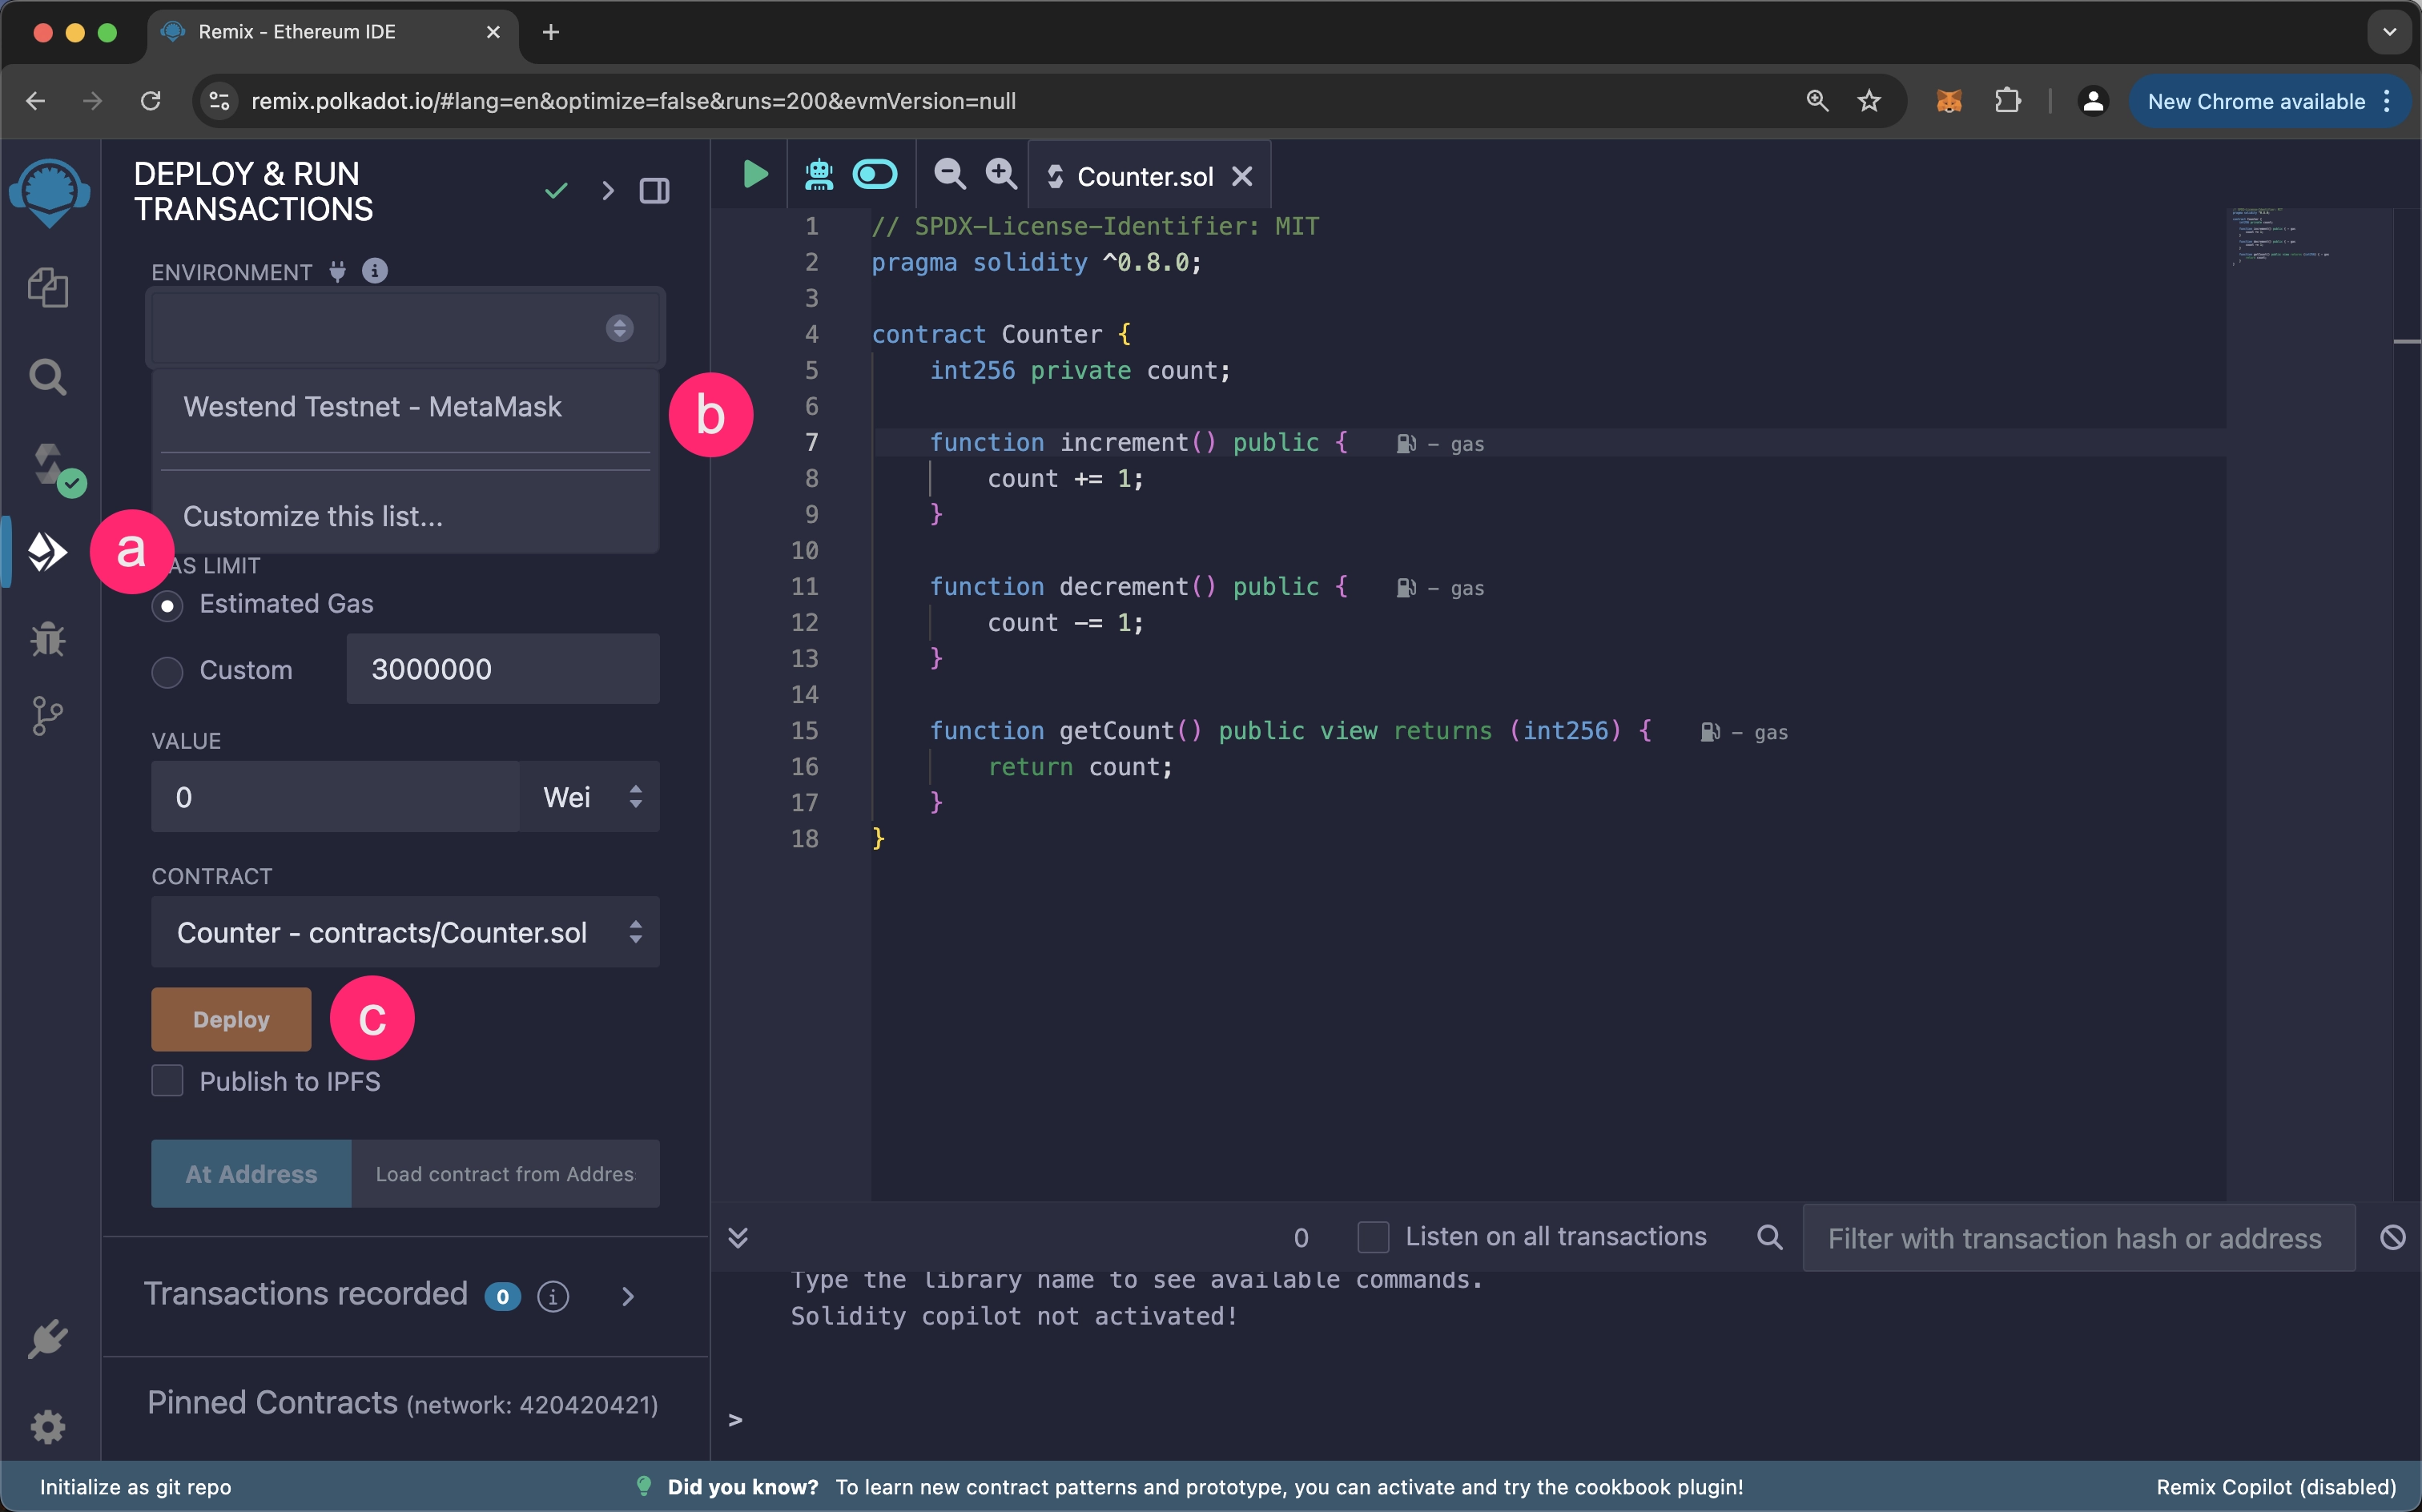
-
Enable the Injected Provider - Talisman option

-
Click again the Enviroment dropdown and select Injected Provider - Talisman
-
Click the Deploy button and then click Approve in the Talisman wallet popup
-
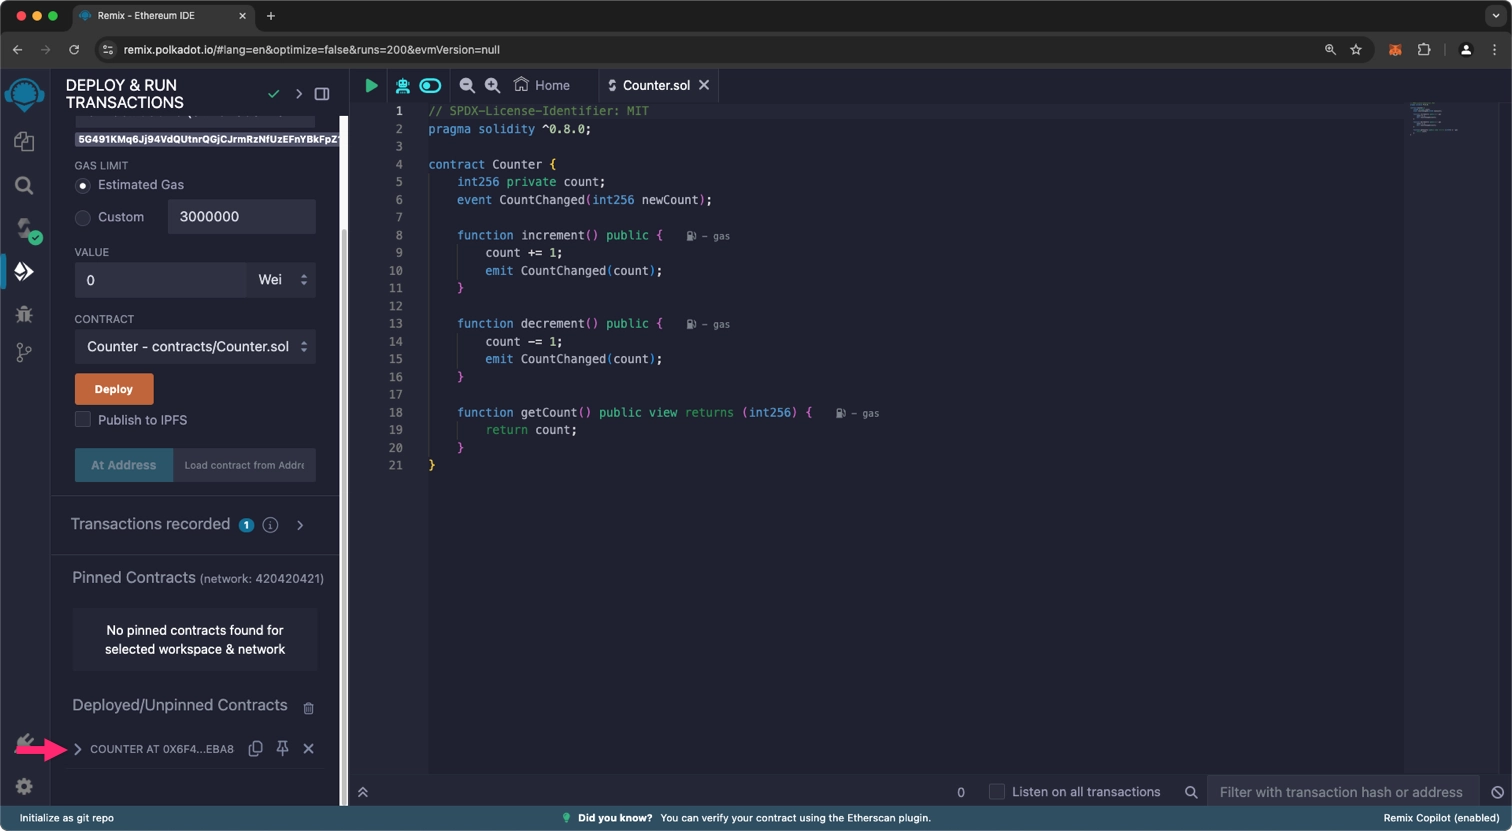
Once your contract is deployed successfully, you will see the following output in the Remix terminal:
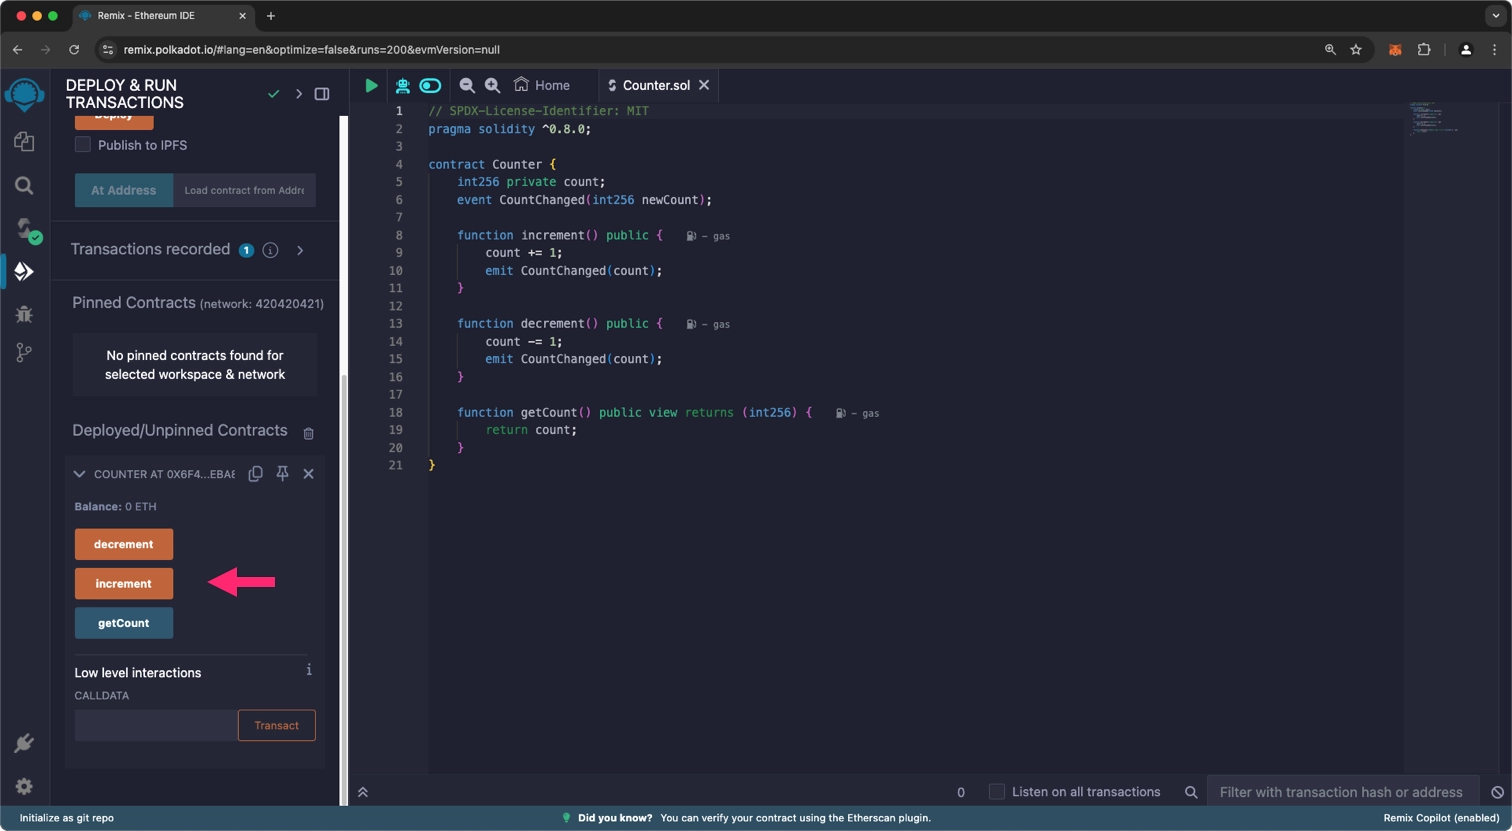
Interacting with Contracts
Once deployed, your contract appears in the Deployed/Unpinned Contracts section:
-
Expand the contract to view available methods

Tip
Pin your frequently used contracts to the Pinned Contracts section for easy access.
-
To interact with the contract, you can select any of the exposed methods

In this way, you can interact with your deployed contract by reading its state or writing to it. The button color indicates the type of interaction available:
- Red - modifies state and is payable
- Orange - modifies state only
- Blue - reads state
Where to Go Next
The Polkadot Remix IDE offers an environment for developing, compiling, and deploying smart contracts on Asset Hub. Its intuitive interface allows developers to easily write Solidity code, compile contracts, and interact with them directly in the browser.
Explore more about smart contracts through these resources:
-
Guide Smart Contracts on Polkadot
Dive into advanced smart contract concepts.
-
External OpenZeppelin Contracts
Test your skills by deploying a simple contracts with prebuilt templates.
| Created: July 28, 2025