Deploying a Parachain on Paseo TestNet
Introduction
Paseo is a community-run TestNet designed for parachain teams and dApp developers to build and test their solutions. The Paseo network is open, allowing anyone to launch a parachain as part of their process for eventual deployment onto the Polkadot MainNet.
This project is maintained by the members of the following teams: Portico, R0GUE, and Zondax. For further support, you can reach out to the team members on the Paseo Matrix channel.
It provides dedicated parachain slots to maintainers, with the lease period duration varying based on the following criteria:
-
Maintainers of live parachains on the Polkadot or Kusama MainNets will be granted a dedicated Paseo parachain slot for a one-year lease period
-
Maintainers of parachains under active development, or those that have not yet secured a parachain slot on Kusama or Polkadot, will be assigned a shorter Paseo lease period of two weeks
This guide will walk you through deploying your blockchain as a parachain on the Paseo TestNet. It covers generating a customized chain spec, securing a dedicated parachain slot, and setting up and running your parachain.
Prerequisites
Before you can deploy your parachain on the Paseo TestNet, you'll need to meet the following requirements:
- Parachain Runtime - a fully operational blockchain capable of operating as a parachain
Select a Parachain ID
To deploy your parachain, you'll first need to select a unique parachain ID on the Paseo TestNet:
-
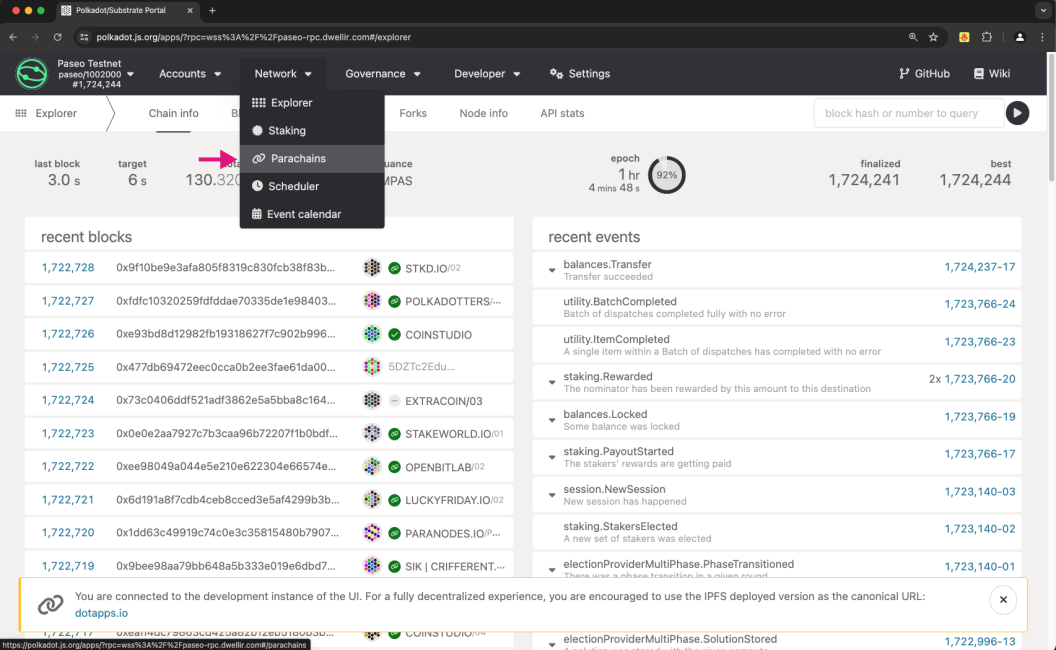
Visit Polkadot.js Apps and ensure you're connected to the Paseo TestNet
-
Navigate to the Network dropdown, then select the Parachains option from the menu that appears
-
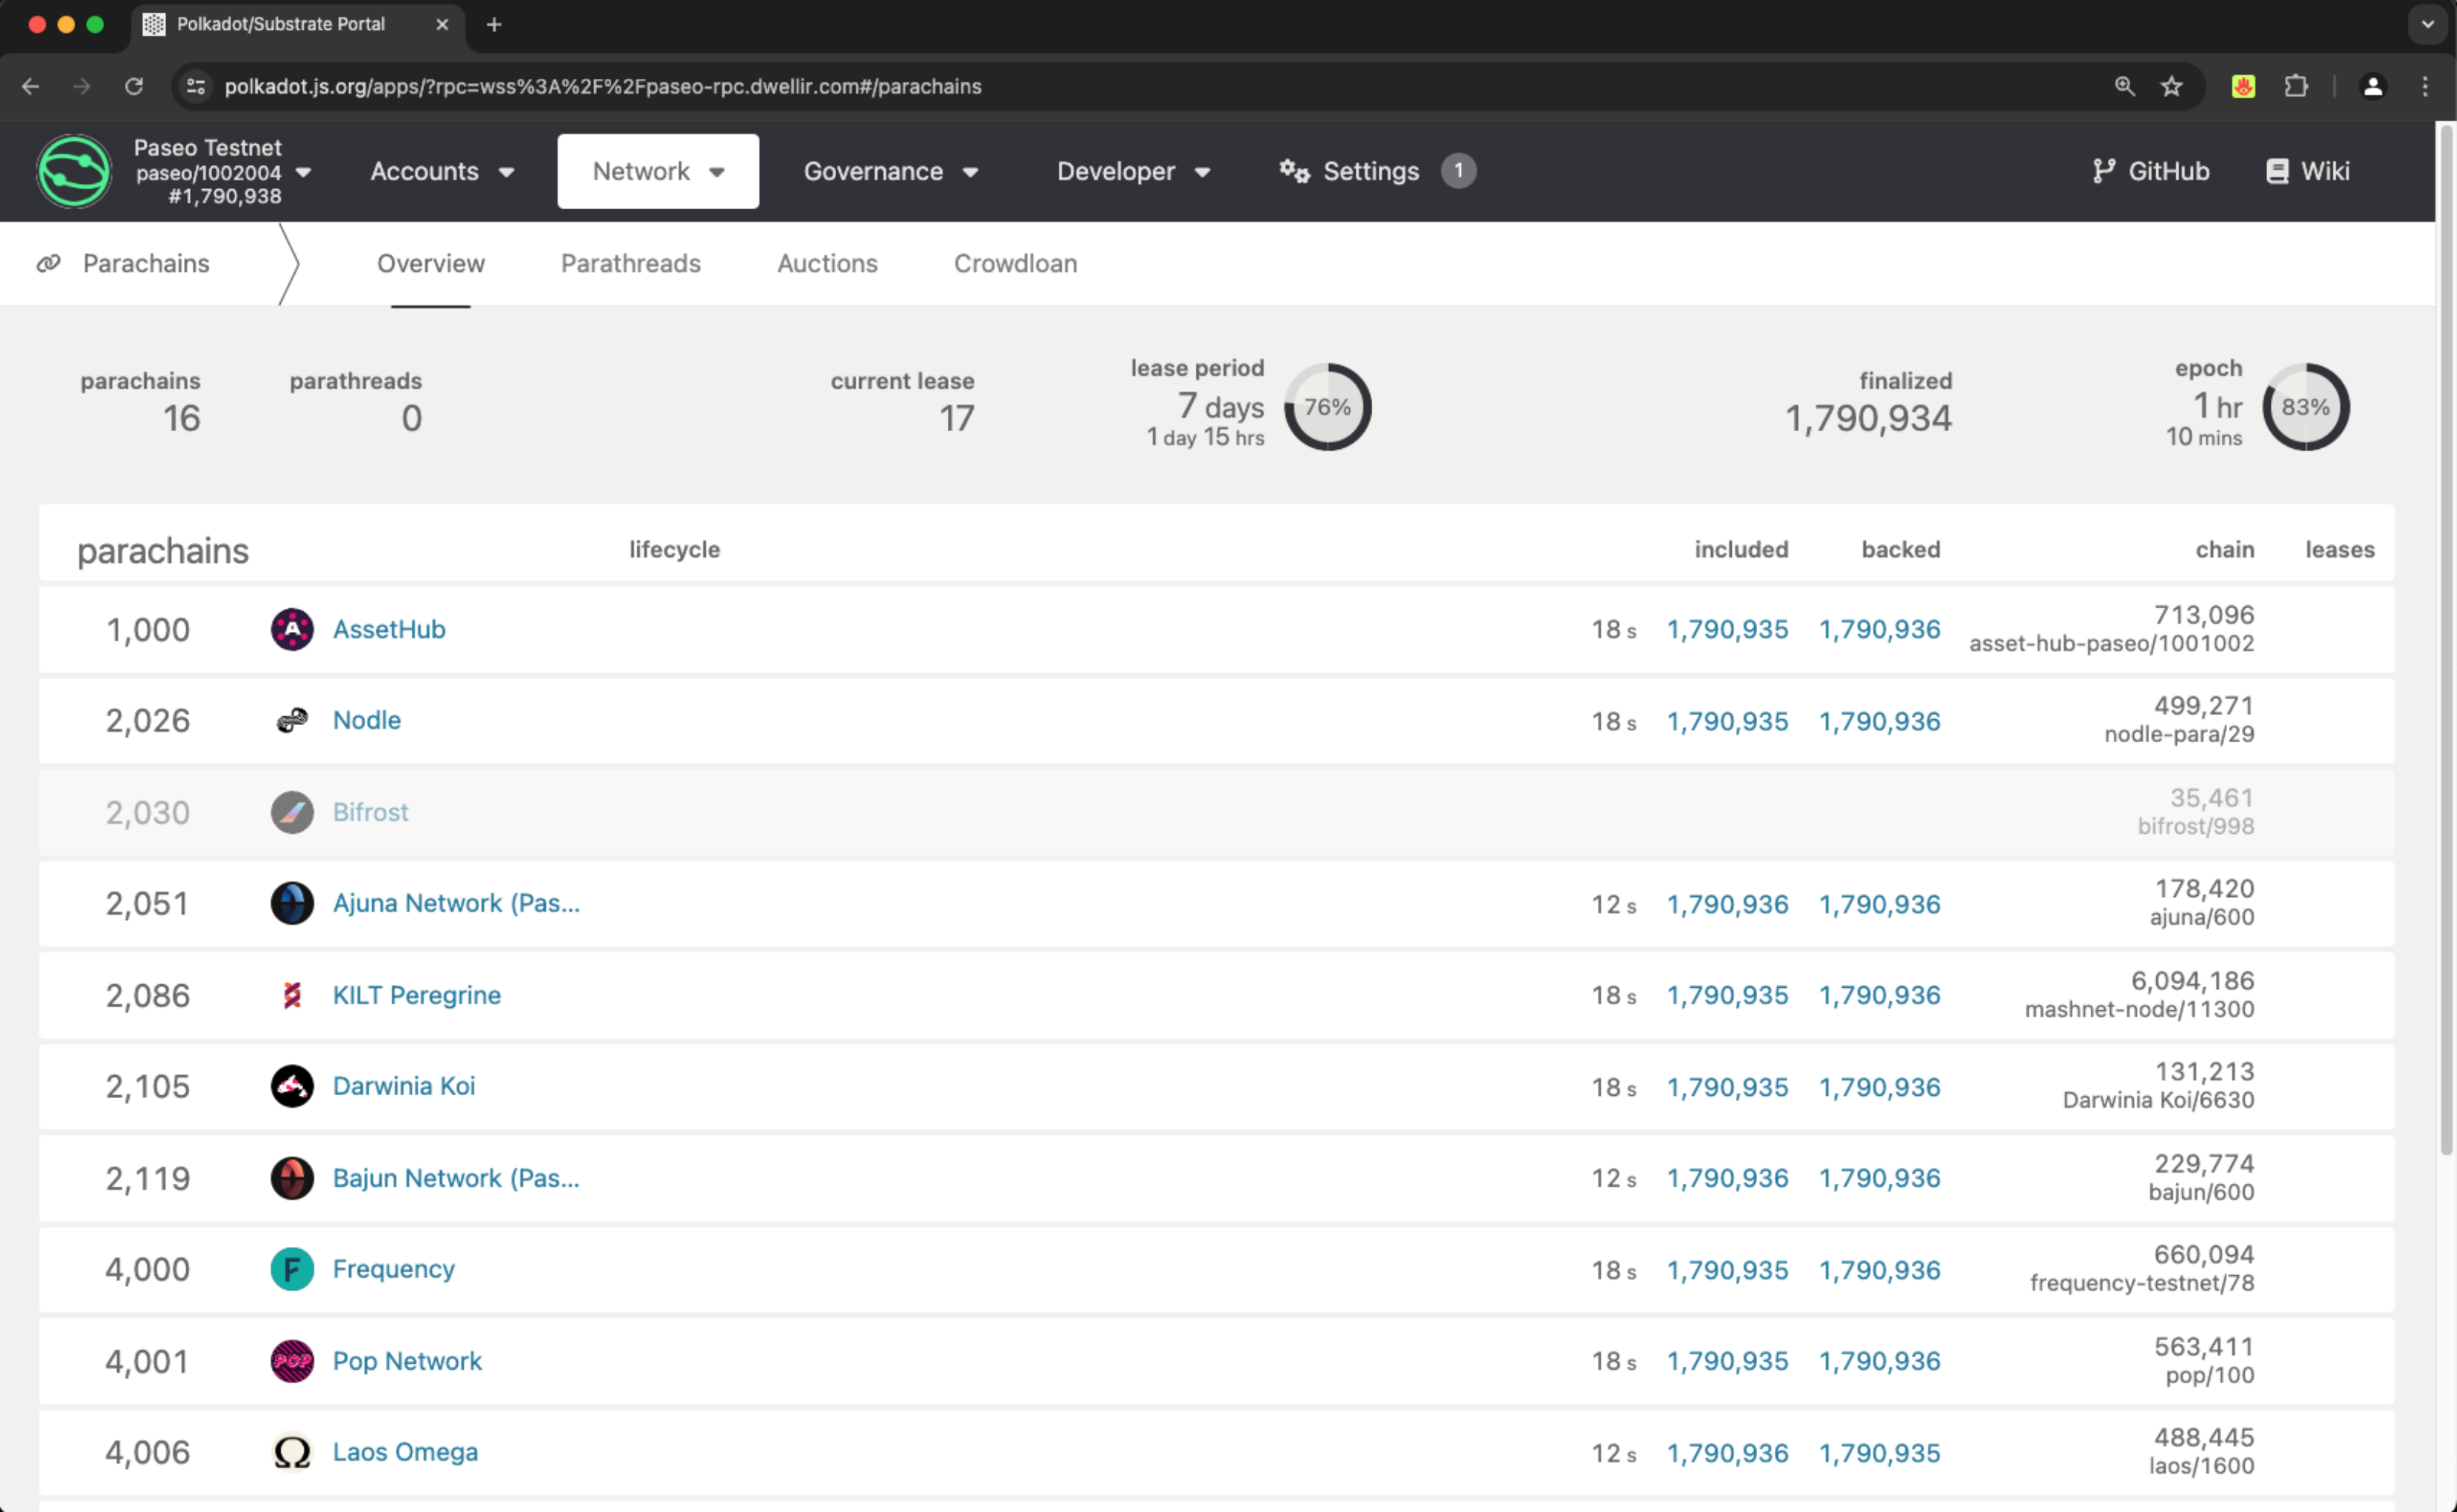
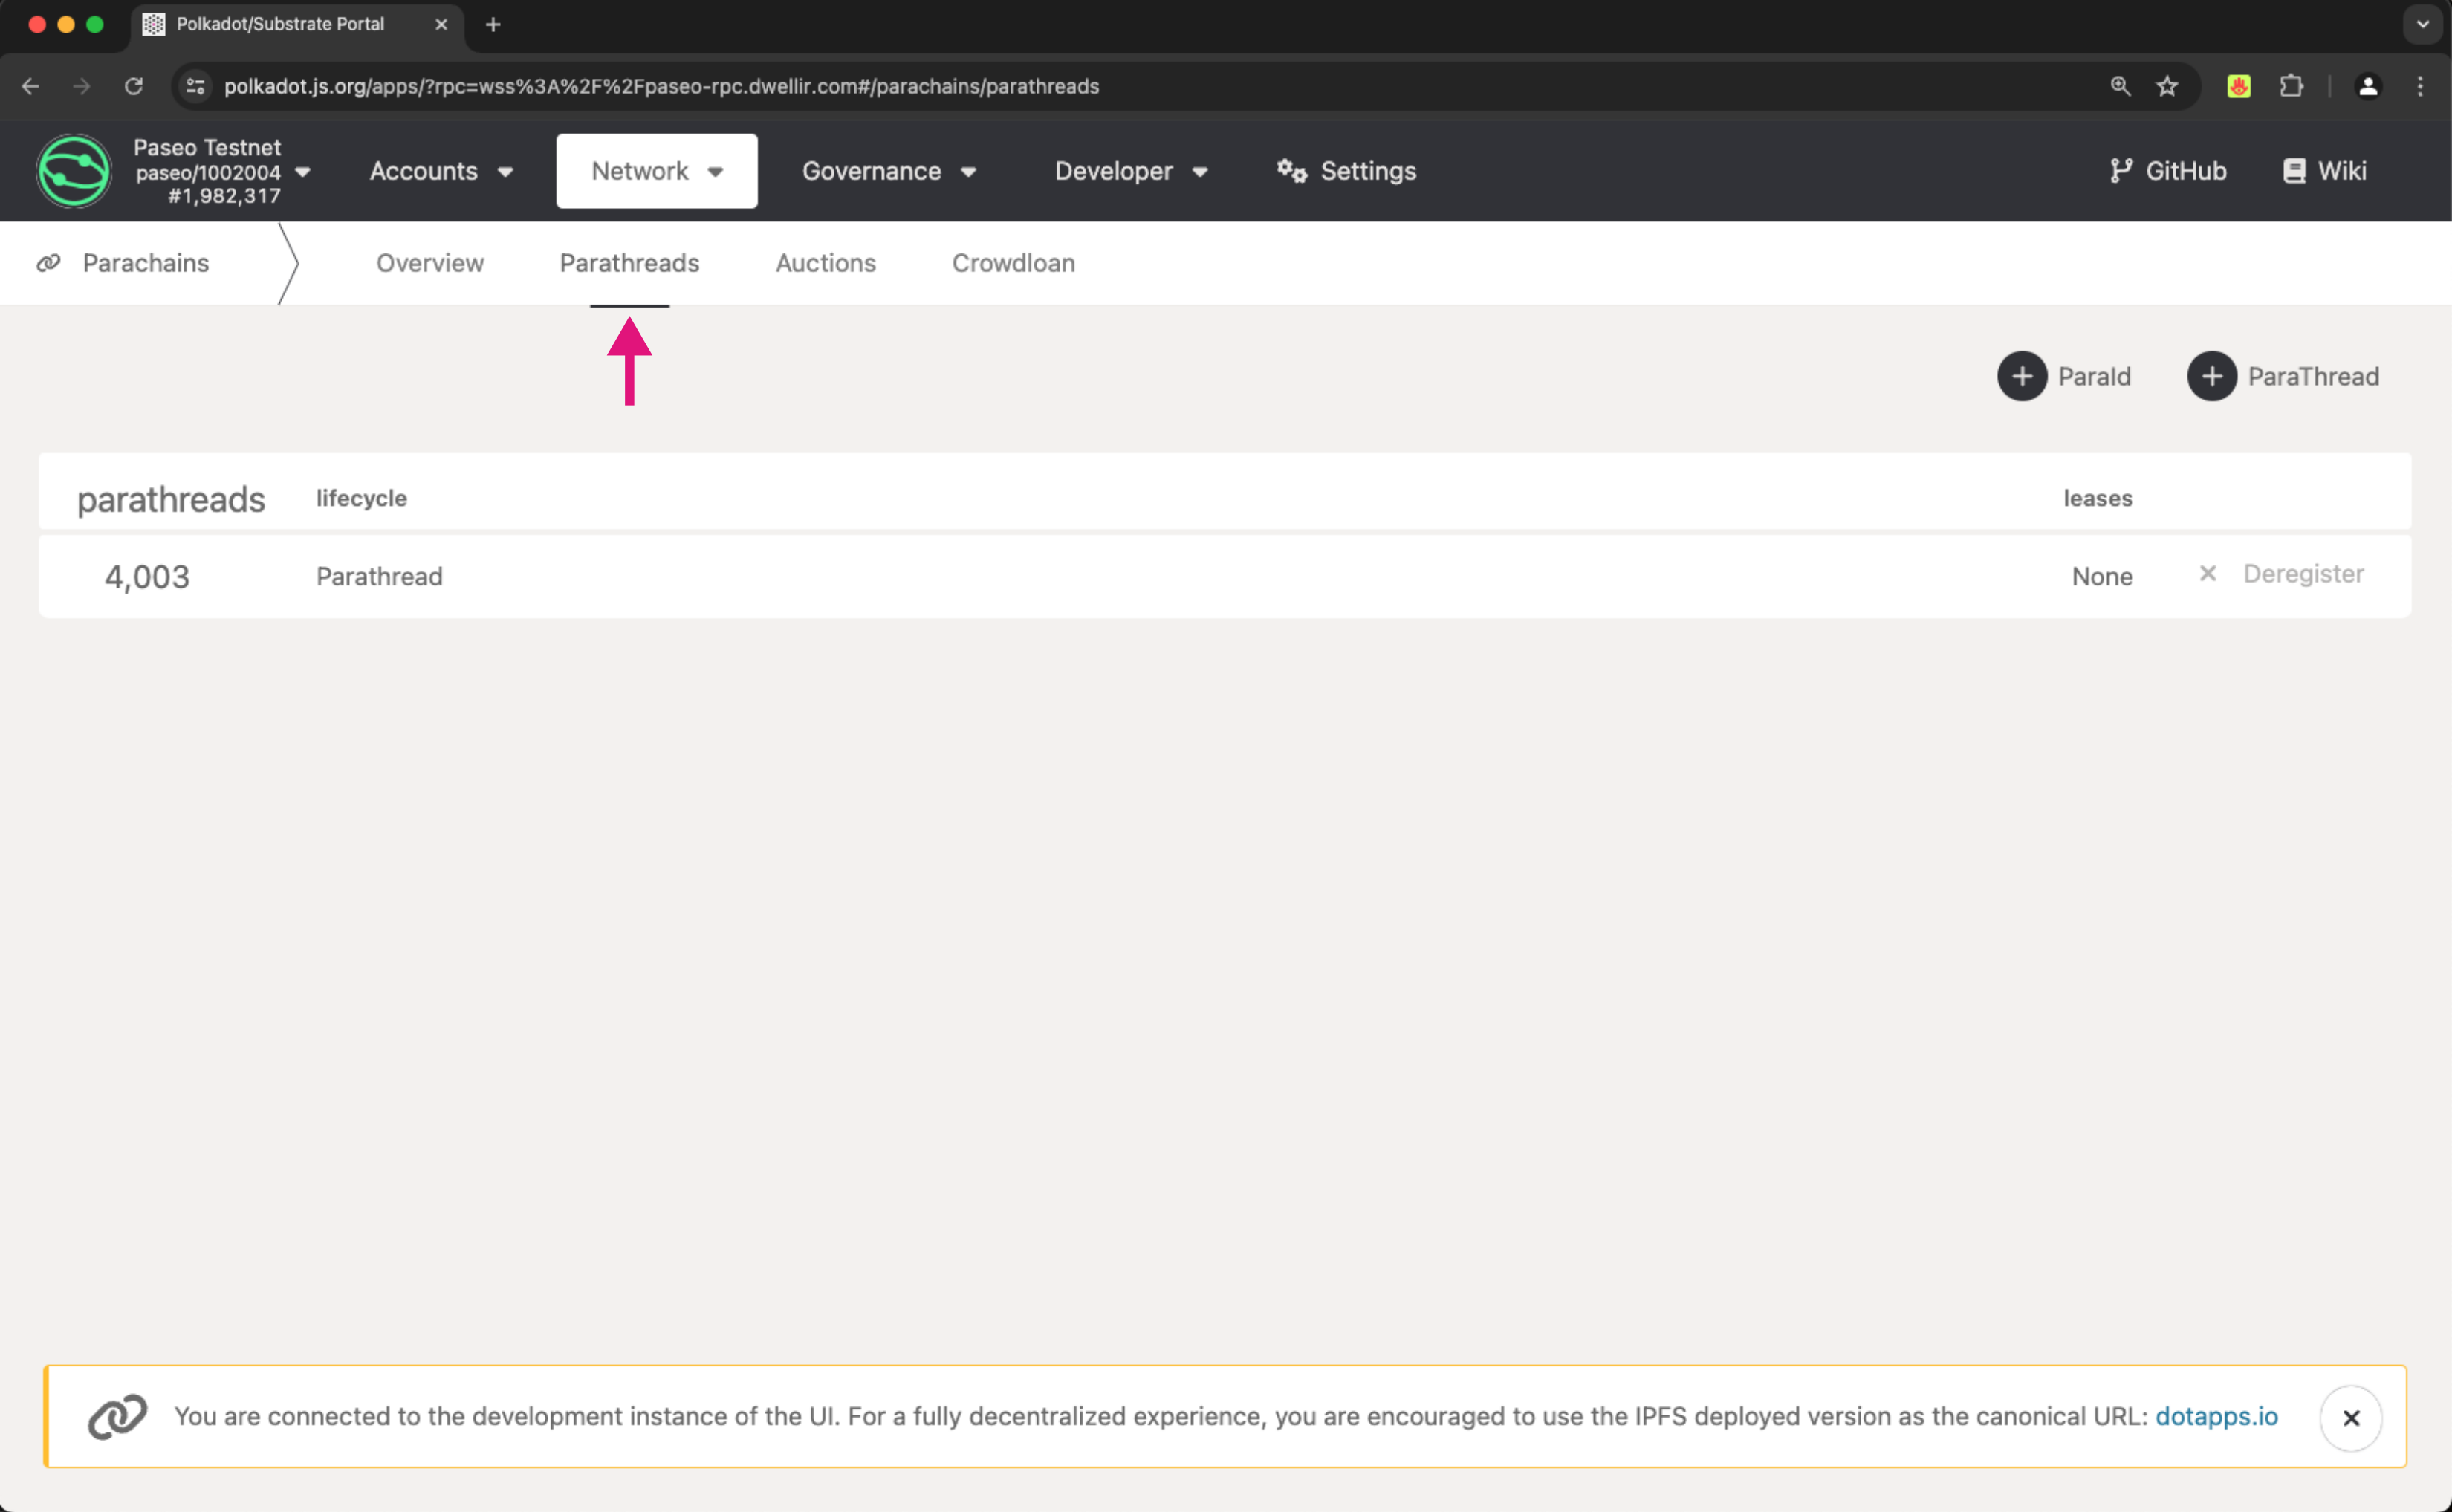
Review the list of active parachains and parathreads, and select an available parachain ID for your chain. Ensure the ID you choose is not currently used by examining:
-
The parachains column
-
The parathreads column under the Parathreads tab
-
Generate Customs Keys for Your Collators
To securely deploy your parachain, it is essential to generate custom keys specifically for your collators (block producers). You should generate two sets of keys for each collator:
-
Account keys - used to interact with the network and manage funds. These should be protected carefully and should never exist on the filesystem of the collator node
-
Session keys - used in block production. These identify your node and its blocks on the network. Stored in the parachain keystore, these are disposable "hot wallet" keys. If leaked, they could be used to impersonate your node, potentially leading to fund slashing. To mitigate risks, rotate these keys frequently. Treat them with the same caution as a hot wallet to protect your node security
To perform this step, you can use subkey, a command-line tool for generating and managing keys:
Note
Several methods can be used to generate your keys. This tutorial opts for using the subkey Docker image for simplicity.
The output should look similar to the following:
Secret phrase: lemon play remain picture leopard frog mad bridge hire hazard best buddy
Network ID: substrate
Secret seed: 0xb748b501de061bae1fcab1c0b814255979d74d9637b84e06414a57a1a149c004
Public key (hex): 0xf4ec62ec6e70a3c0f8dcbe0531e2b1b8916cf16d30635bbe9232f6ed3f0bf422
Account ID: 0xf4ec62ec6e70a3c0f8dcbe0531e2b1b8916cf16d30635bbe9232f6ed3f0bf422
Public key (SS58): 5HbqmBBJ5ALUzho7tw1k1jEgKBJM7dNsQwrtfSfUskT1a3oe
SS58 Address: 5HbqmBBJ5ALUzho7tw1k1jEgKBJM7dNsQwrtfSfUskT1a3oe
Ensure that this command is executed twice to generate the keys for both the account and session keys. Save them for future reference.
Generate and Customize the Chain Spec
Substrate-based blockchains are defined by a file called the chain specification, or chain spec for short. This guide explains how to use a template provided by OpenZeppelin's Substrate Parachain Runtimes to create and modify the chain spec file. Although most of the time you will use your custom runtime, the steps outlined here can be adapted to your specific runtime with minor adjustments.
There are two types of chain spec files:
- Plain chain spec - a human-readable JSON file that can be modified to suit your parachain's requirements. It serves as a template for initial configuration and includes human-readable keys and structures
- Raw chain spec - a binary-encoded file used to start your parachain node. This file is generated from the plain chain spec and contains the encoded information necessary for the parachain node to synchronize with the blockchain network. It ensures compatibility across different runtime versions by providing data in a format directly interpretable by the node's runtime, regardless of upgrades since the chain's genesis
Before starting, clone the repository and execute the build command:
git clone -b vv1.0.0 https://github.com/OpenZeppelin/polkadot-runtime-templates.git
cd polkadot-runtime-templates
cargo build --release
Note
The cargo build --release command will take a considerable amount of time to complete, depending on your system's specifications. This is normal for Substrate-based projects due to their complexity.
-
Generate a plain chain spec:
-
Edit the
plain-parachain-chainspec.jsonfile:- Update the
name,idandprotocolIdfields to unique values for your parachain - Change the
relay_chainfield topaseo - Change
para_idandparachainInfo.parachainIdfrom 1000 to the parachain ID you selected in the Select a Parachain ID step - Insert the account IDs and session keys in SS58 format generated for your collators in the
collatorSelection.invulnerablesandsession.keysfields - Modify the
sudovalue to specify the account that will have sudo access to the parachain
{ "name": "INSERT_NAME", "id": "INSERT_ID", "chainType": "Local", "bootNodes": [], "telemetryEndpoints": null, "protocolId": "INSERT_PROTOCOL_ID", "properties": { "ss58Format": 42, "tokenDecimals": 12, "tokenSymbol": "UNIT" }, "relay_chain": "paseo", "para_id": 1, "codeSubstitutes": {}, "genesis": { "runtimeGenesis": { "code": "...", "patch": { "balances": {}, "collatorSelection": { "candidacyBond": 16000000000, "invulnerables": [ "INSERT_ACCOUNT_ID_COLLATOR_1", "INSERT_ACCOUNT_ID_COLLATOR_2" ] }, "parachainInfo": { "parachainId": 1 }, "polkadotXcm": { "safeXcmVersion": 4 }, "session": { "keys": [ [ "INSERT_ACCOUNT_ID_COLLATOR_1", "INSERT_ACCOUNT_ID_COLLATOR_1", { "aura": "INSERT_SESSION_KEY_COLLATOR_1" } ], [ "INSERT_ACCOUNT_ID_COLLATOR_2", "INSERT_ACCOUNT_ID_COLLATOR_2", { "aura": "INSERT_SESSION_KEY_COLLATOR_2" } ] ] }, "sudo": { "key": "INSERT_SUDO_ACCOUNT" } } } } } - Update the
-
Generate a raw chain spec:
Obtain a Parachain Slot
Before securing a dedicated parachain slot, you'll need to generate the following files:
- Genesis state - the initial state of your parachain
- Genesis Wasm - the initial runtime Wasm blob of your parachain
Note
Replace <INSERT_SELECTED_PARA_ID> with the actual parachain ID you reserved earlier when executing the following commands:
-
Generate a genesis state:
-
Generate a genesis Wasm:
-
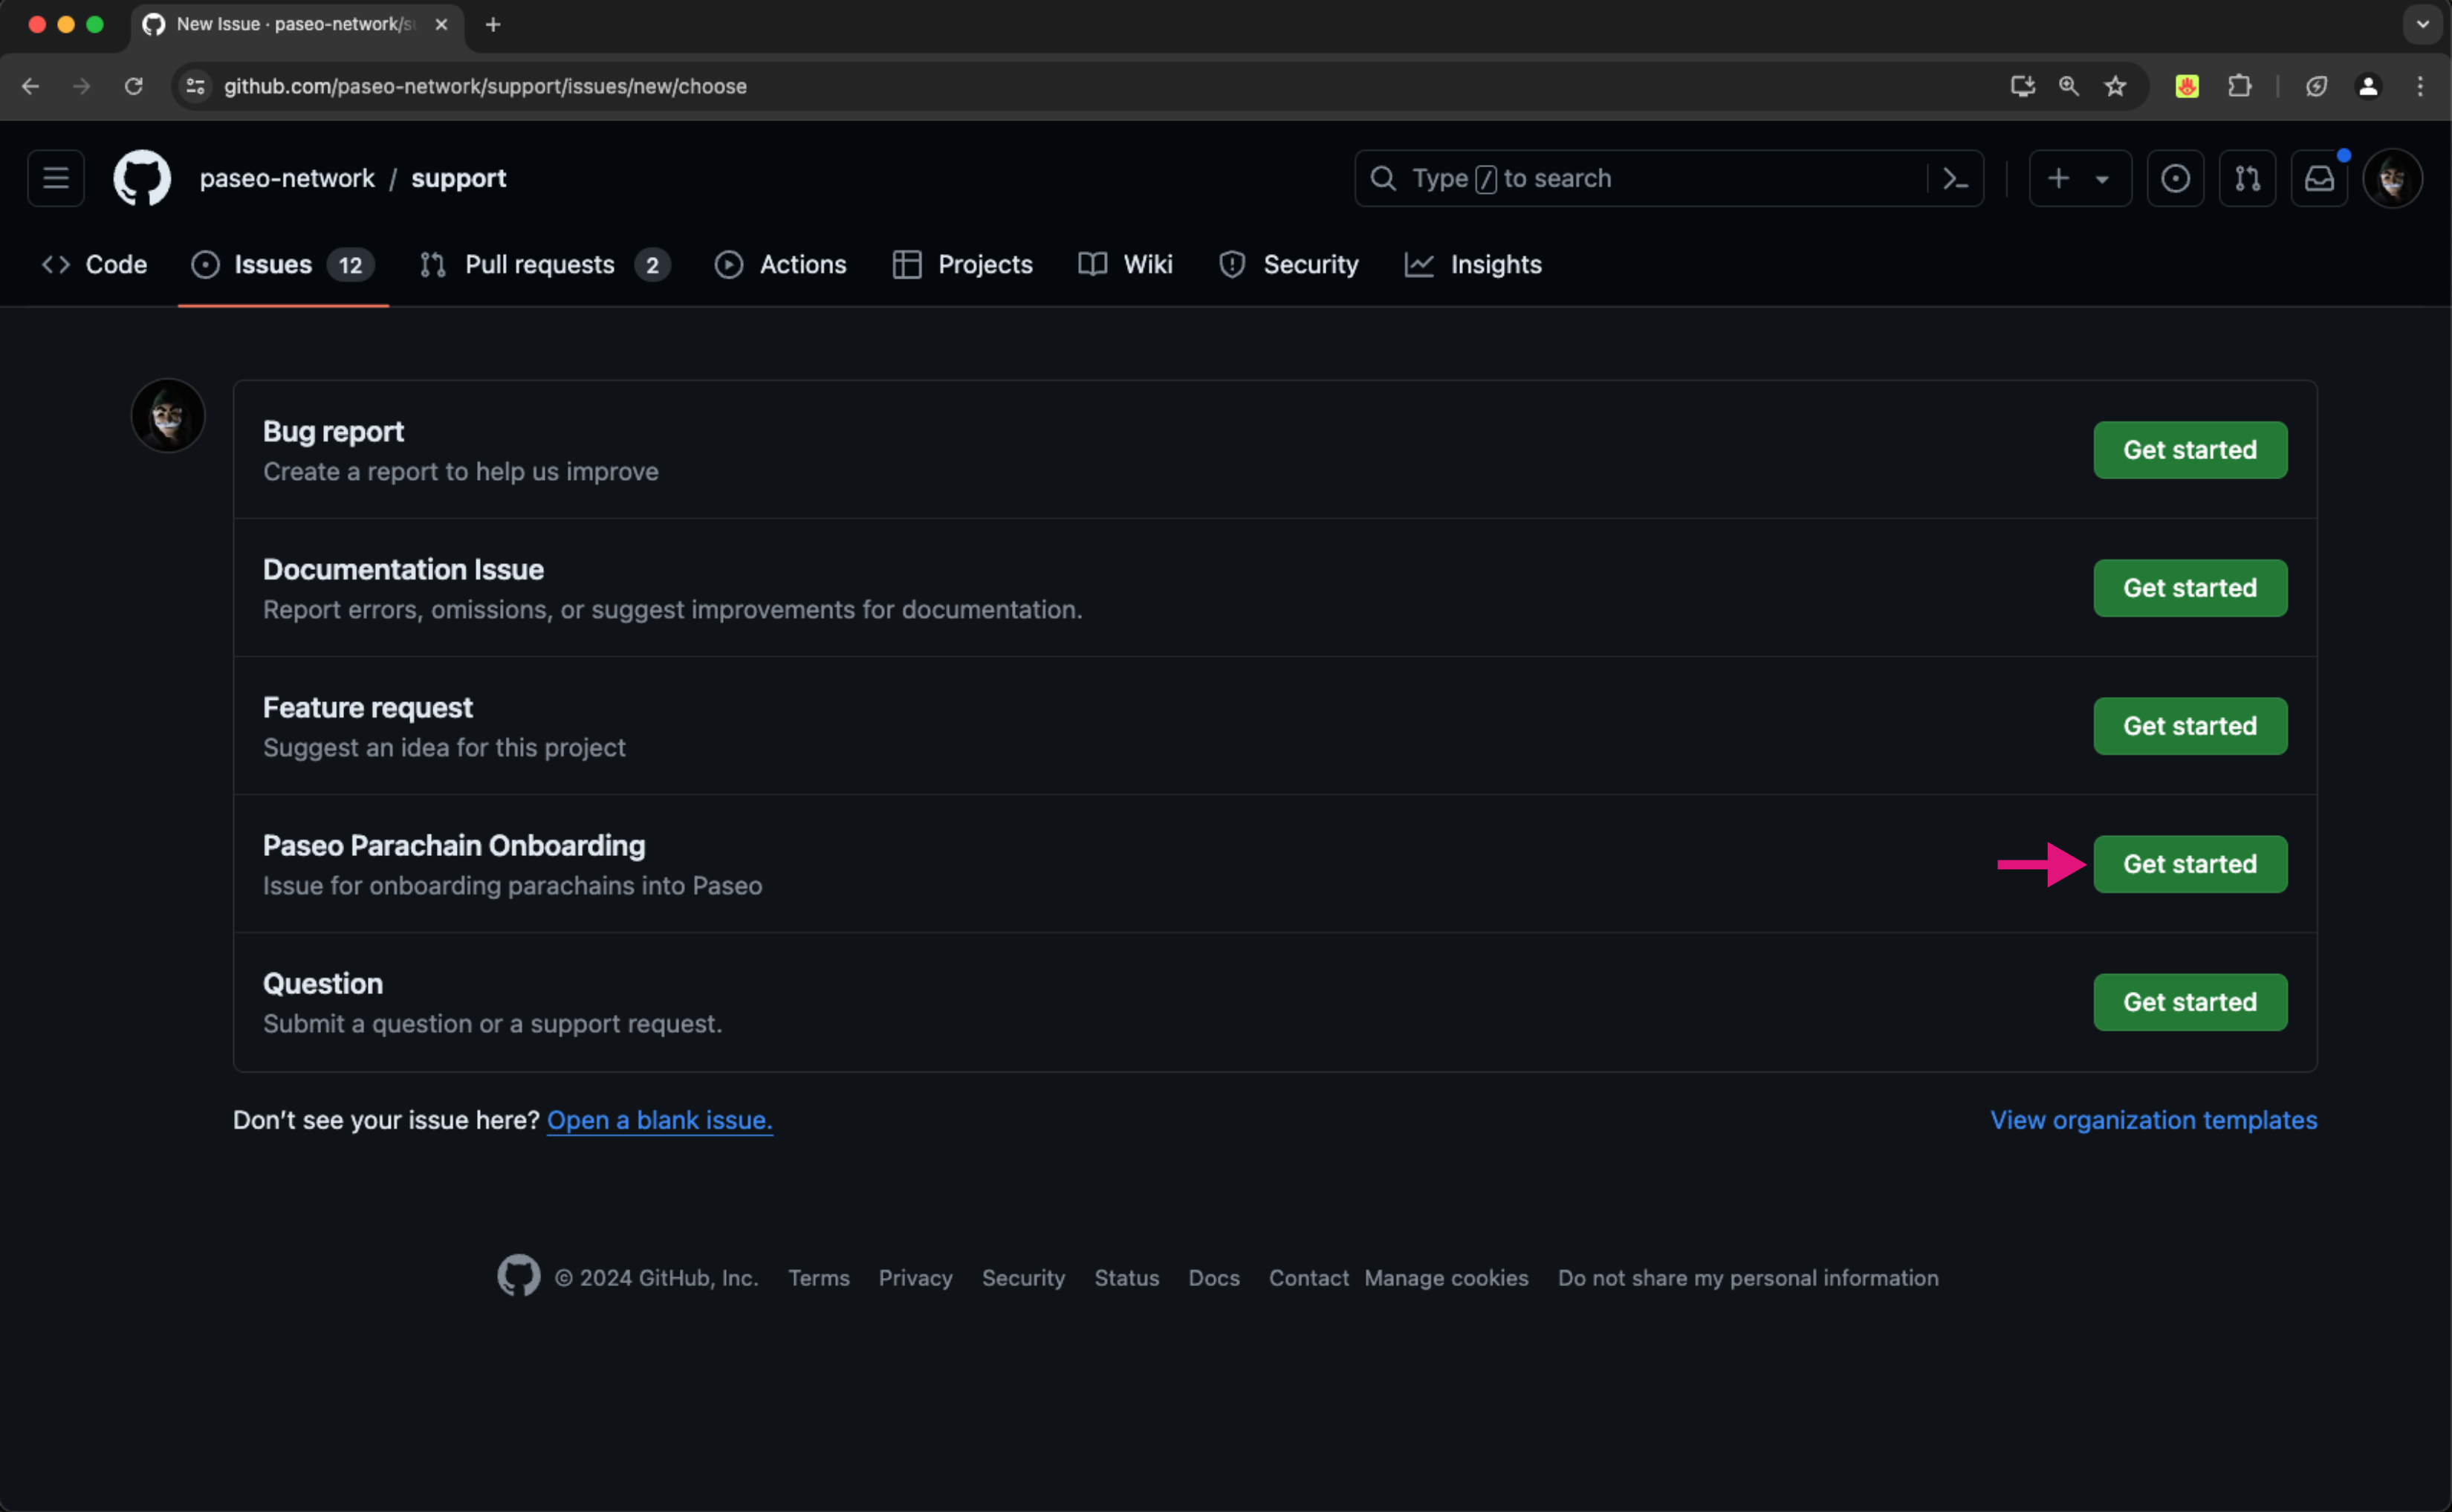
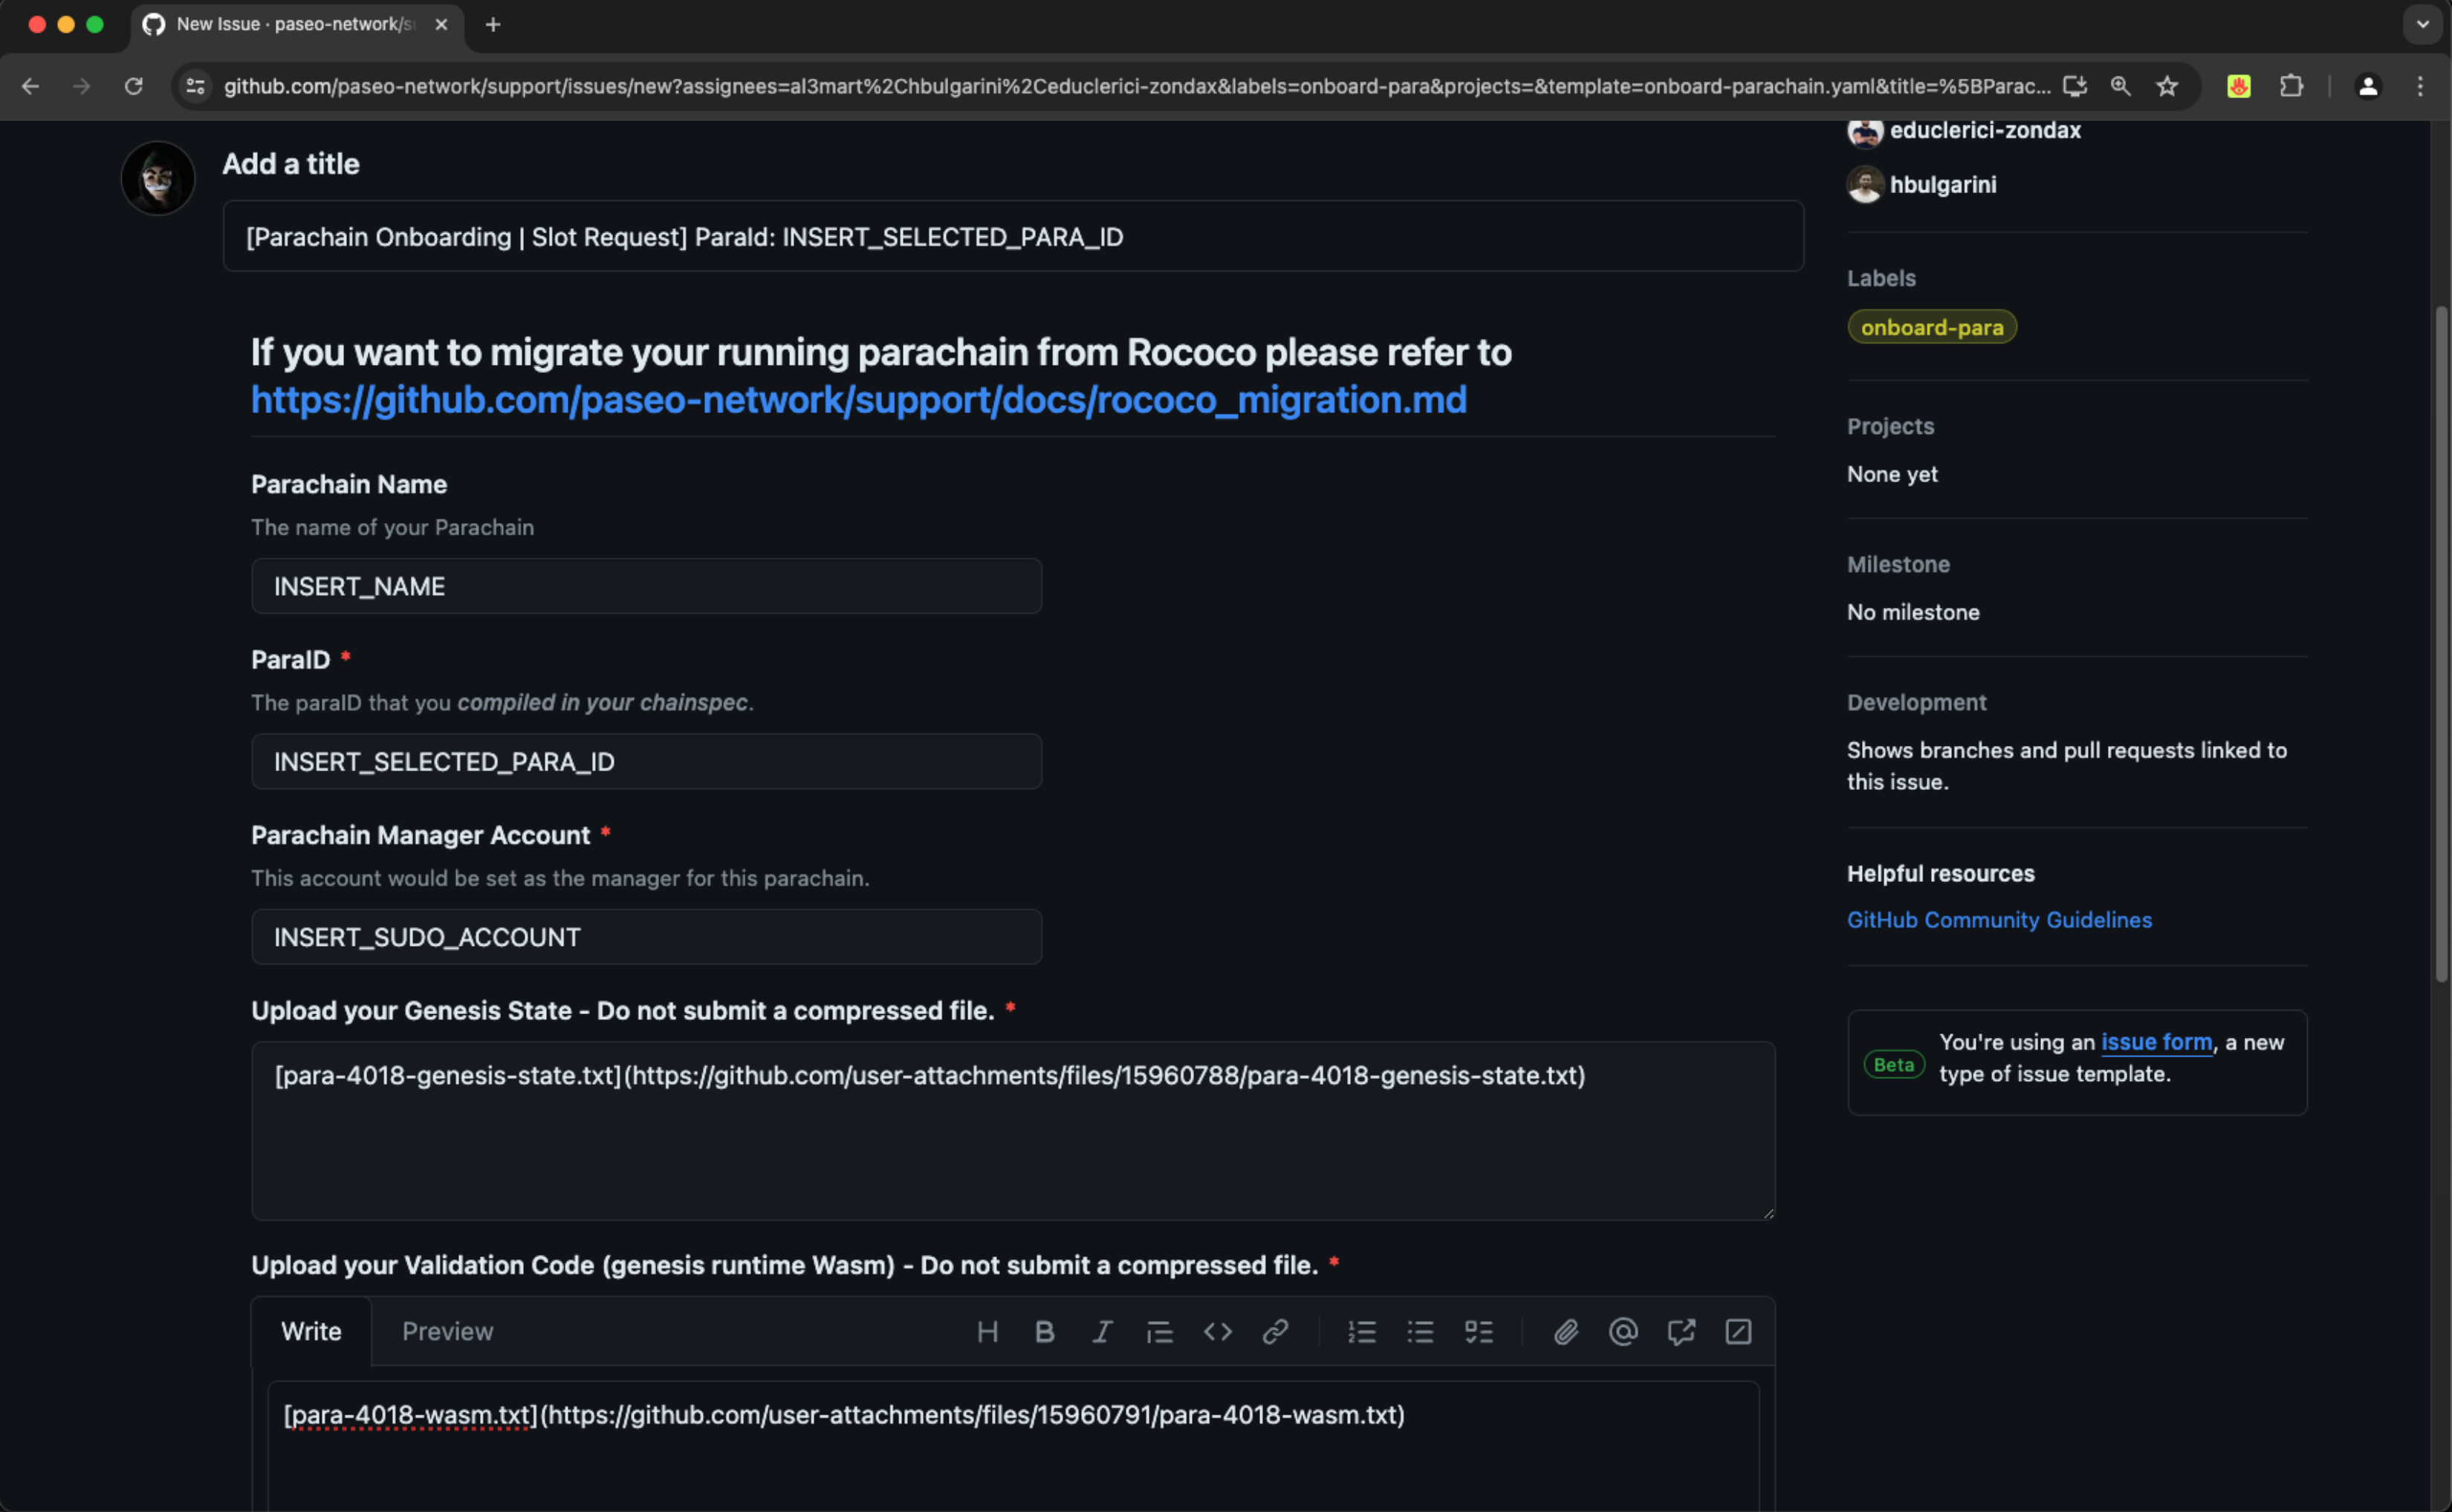
Create an issue in the Paseo support repository using the Paseo Parachain Onboarding issue template
-
Ensure you fill in all the necessary information, including your parachain name, selected parachain ID, manager account, genesis state, and genesis Wasm files from the previous steps. After filling in the required details, submit the issue
-
Once your request is reviewed and approved, you'll be allocated a dedicated parachain slot
Set Up Your Parachain
With a parachain slot secured, you can now set up and run your parachain on the Paseo TestNet.
-
Download the Paseo Network raw chain spec file
-
Start your parachain collator node by running the command with the appropriate flags and options for your setup. For example:
./target/release/parachain-template-node \
--collator \
--force-authoring \
--chain raw-parachain-chainspec.json \
--base-path ./data \
--port 40333 \
--rpc-port 8845 \
-- \
--sync warp \
--execution wasm \
--chain paseo.raw.json \
--port 30343 \
--rpc-port 9977
Note
The following arguments are mandatory for running your parachain node:
--collator- configures the node to work as a parachain collator--force-authoring- ensures the node produces blocks even when operating as a single node without peers--chain- specifies the chain specification file for your parachain--- separates parachain and relay chain arguments--sync warp- argument is optional, but highly recommended. Without this, the default is full sync, which can take a significantly longer time--chain- indicates which relay chain to connect to and synchronize with
For more information on the available command-line arguments you can provide to your collator node, execute the following command:
-
Insert the session key previously generated in your collator keystore by running the following command with the appropriate values:
curl -H "Content-Type: application/json" \
--data '{
  "jsonrpc":"2.0",
  "method":"author_insertKey",
  "params":[
    "aura",
    "INSERT_SECRET_PHRASE",
    "INSERT_PUBLIC_KEY_HEX_FORMAT"
  ],
  "id":1
}' \
http://localhost:8845
If successful, you should see the following response:
Note
Replace the port number
8845with the RPC port you specified when starting your collator node. Also, replaceINSERT_SECRET_PHRASEandINSERT_PUBLIC_KEY_HEX_FORMATwith the session key generated for your collator. -
Once your collator is synced with the Paseo relay chain, it will begin producing blocks for your parachain. This process may take some time. You'll see log messages indicating when your parachain starts participating in block production
Congratulations! You've successfully deployed your parachain on the Paseo TestNet. You can now test and iterate on your blockchain project within the Paseo ecosystem.