Spawn a Basic Network
Introduction
In this tutorial, you'll learn how to set up a basic network using Zombienet and run a simple test to validate its functionality. The example provided walks you through defining a minimal network configuration, spawning the network, and interacting with the nodes. By the end, you'll clearly understand how to use Zombienet to deploy and test ephemeral blockchain networks, setting the stage for more complex scenarios.
Prerequisites
To follow this tutorial, first, you need to have Zombienet installed. If you haven't done so, please follow the instructions in the Installation section.
Defining the Network
As mentioned in the Configuration Files section, Zombienet uses a configuration file to define the ephemeral network that will be spawned. To follow this tutorial, create a file named spawn-a-basic-network.toml with the following content:
[settings]
timeout = 120

[relaychain]

[[relaychain.nodes]]
name = "alice"
validator = true

[[relaychain.nodes]]
name = "bob"
validator = true

[[parachains]]
id = 100

  [parachains.collator]
  name = "collator01"
This configuration file defines a network with a relaychain with two nodes, alice and bob, and a parachain with a collator named collator01. Also, it sets a timeout of 120 seconds for the network to be ready.
Running the Network
To spawn the network, run the following command:
This command will spawn the network defined in the spawn-a-basic-network.toml configuration file. The -p native flag specifies that the network will be spawned using the native provider.
If successful, you will see the following output:
| Network launched 🚀🚀 | ||
|---|---|---|
| Namespace | zombie-75a01b93c92d571f6198a67bcb380fcd | |
| Provider | native | |
| Node Information | ||
| Name | alice | |
| Direct Link | https://polkadot.js.org/apps/?rpc=ws://127.0.0.1:55308#explorer | |
| Prometheus Link | http://127.0.0.1:55310/metrics | |
| Log Cmd | tail -f /var/folders/f4/7rdt2m9d7j361dm453cpggbm0000gn/T/zombie-75a01b93c92d571f6198a67bcb380fcd_21724-2 | |
| Node Information | ||
| Name | bob | |
| Direct Link | https://polkadot.js.org/apps/?rpc=ws://127.0.0.1:55312#explorer | |
| Prometheus Link | http://127.0.0.1:50634/metrics | |
| Log Cmd | tail -f /var/folders/f4/7rdt2m9d7j361dm453cpggbm0000gn/T/zombie-75a01b93c92d571f6198a67bcb380fcd_21724-2 | |
| Node Information | ||
| Name | collator01 | |
| Direct Link | https://polkadot.js.org/apps/?rpc=ws://127.0.0.1:55316#explorer | |
| Prometheus Link | http://127.0.0.1:55318/metrics | |
| Log Cmd | tail -f /var/folders/f4/7rdt2m9d7j361dm453cpggbm0000gn/T/zombie-75a01b93c92d571f6198a67bcb380fcd_21724-2 | |
| Parachain ID | 100 | |
| ChainSpec Path | /var/folders/f4/7rdt2m9d7j361dm453cpggbm0000gn/T/zombie-75a01b93c92d571f6198a67bcb380fcd_21724-2 | |
Note
If the IPs and ports are not explicitly defined in the configuration file, they may change each time the network is started, causing the links provided in the output to differ from the example.
Interacting with the Spawned Network
Connecting to the Nodes
After the network is launched, you can interact with it using Polkadot.js Apps. To do so, open your browser and use the provided links listed by the output as Direct Link. For instance, in this particular case, as the ports may vary from spawning to spawning, to interact with the alice node, open https://polkadot.js.org/apps/?rpc=ws://127.0.0.1:55308#explorer as it is the link provided in the output for the alice node. Moreover, you can also do this for the bob and collator01 nodes.
If you want to interact with the nodes more programmatically, you can also use the Polkadot.js API. For example, the following code snippet shows how to connect to the alice node using the Polkadot.js API and log some information about the chain and node:
import { ApiPromise, WsProvider } from '@polkadot/api';

async function main() {
  const wsProvider = new WsProvider('ws://127.0.0.1:55308');
    const api = await ApiPromise.create({ provider: wsProvider });

    // Retrieve the chain & node information via rpc calls
    const [chain, nodeName, nodeVersion] = await Promise.all([
        api.rpc.system.chain(),
        api.rpc.system.name(),
        api.rpc.system.version()
    ]);

    console.log(`You are connected to chain ${chain} using ${nodeName} v${nodeVersion}`);
}

main().catch(console.error).finally(() => process.exit());
Either way allows you to interact easily with the network and its nodes.
Checking Metrics
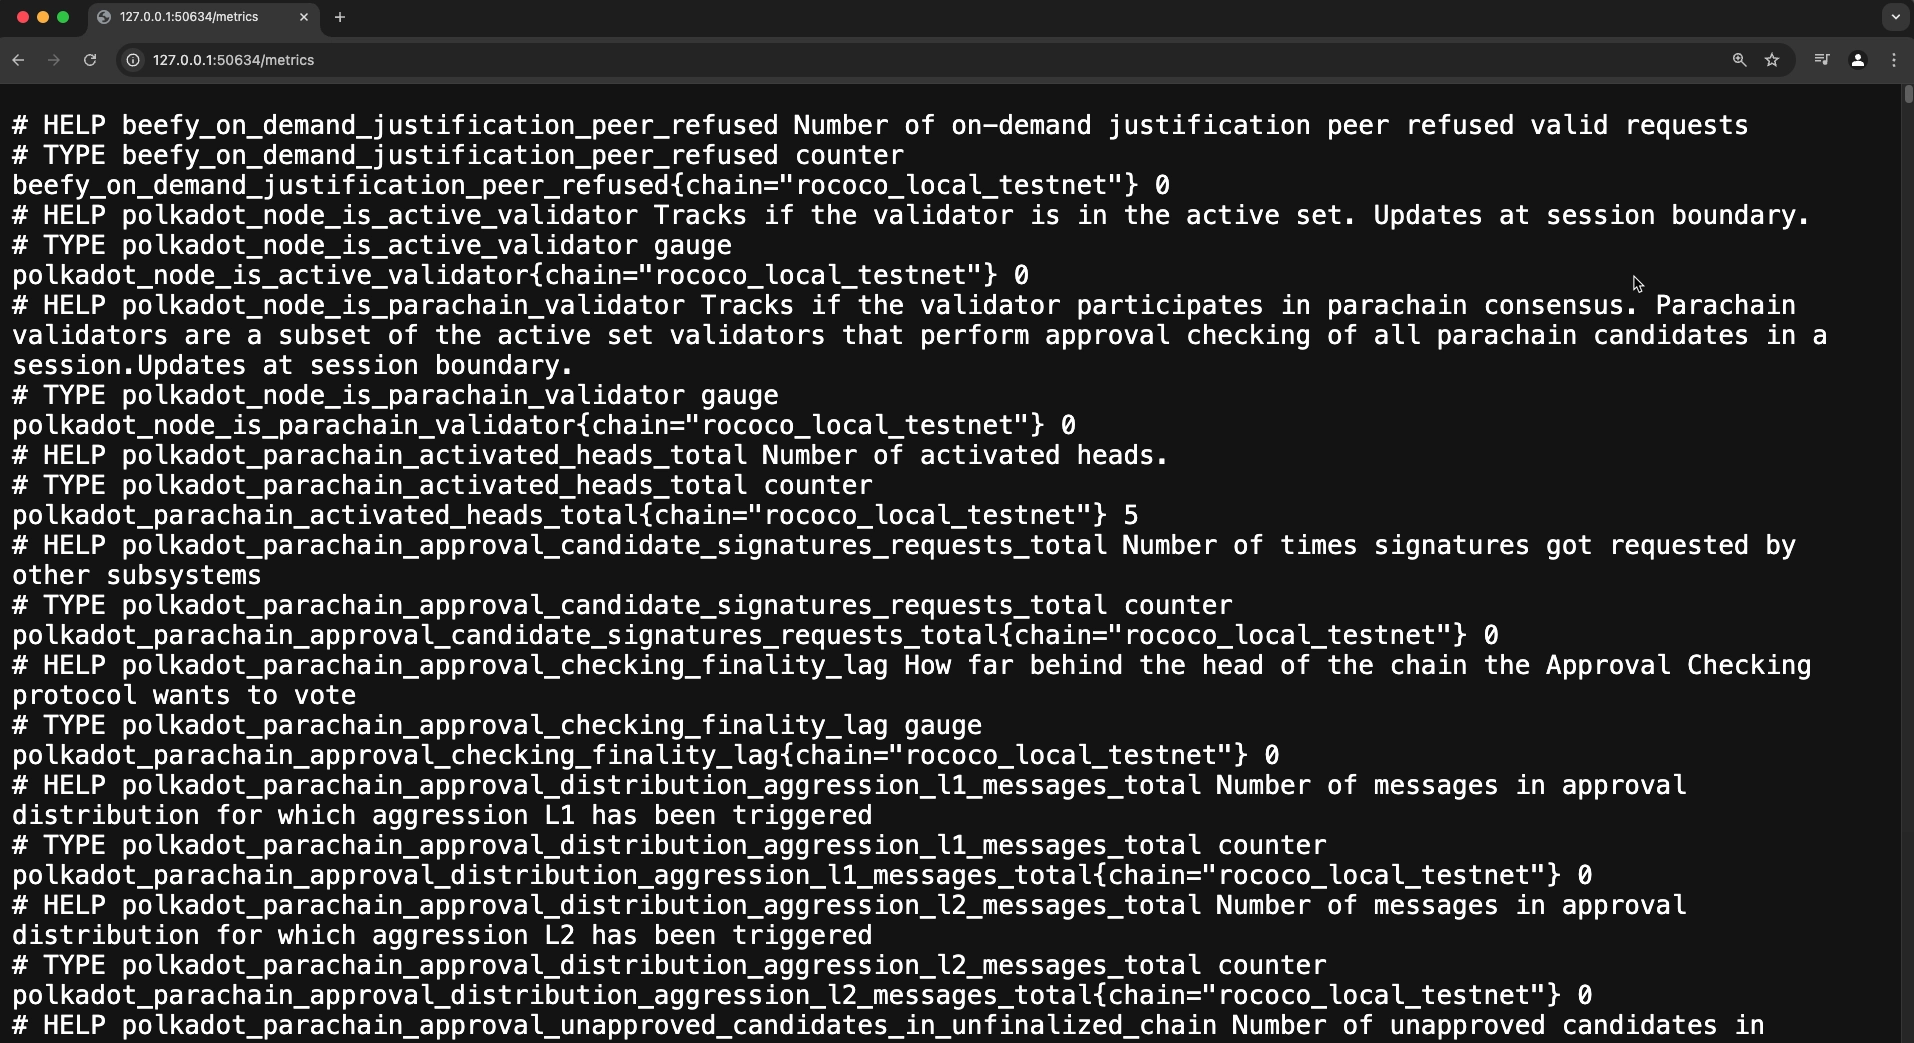
You can also check the metrics of the nodes by accessing the provided links listed by the output as Prometheus Link. Prometheus is a monitoring and alerting toolkit that collects metrics from the nodes. By accessing the provided links, you can see the metrics of the nodes in a web interface. So, for example, the following image shows the Prometheus metrics for Bob’s node from the Zombienet test:
Checking Logs
To check the nodes’ logs, you can use the provided command listed by the output as 'Log Cmd'. For instance, to check the logs of the alice node, you can open a new terminal and run the following command:
tail -f /var/folders/f4/7rdt2m9d7j361dm453cpggbm0000gn/T/zombie-75a01b93c92d571f6198a67bcb380fcd_21724-SEzfCidQ1za4/alice.log
After running this command, you will see the logs of the alice node in real-time, which can be useful for debugging purposes. The logs will be displayed in the terminal in the following format:
2024-08-29 16:03:54 🙌 Starting consensus session on top of parent 0x81bfcf7de46ca0f5c0eca78639dbfa67afa0a22c7f1a98dfc5778449cb0a82f9 2024-08-29 16:03:54 🎁 Prepared block for proposing at 11 (1 ms) [hash: 0x4ae2c654439a9be25cedd03fb9a091a5be7b53eae82276850e8c7061cb656d26; parent_hash: 0x81bf…82f9; extrinsics (2): [0x469d…d7d3, 0x8dd2…66e8] 2024-08-29 16:03:54 🔖 Pre-sealed block for proposal at 11. Hash now 0xb74014d0fcd6df55fbe42848e21ddb556aa5f7358c66795e9a5131f0a666dbbc, previously 0x4ae2c654439a9be25cedd03fb9a091a5be7b53eae82276850e8c7061cb656d26. 2024-08-29 16:03:54 👶 New epoch 1 launching at block 0xb740…dbbc (block slot 287493039 >= start slot 287493039). 2024-08-29 16:03:54 👶 Next epoch starts at slot 287493049 2024-08-29 16:03:54 🏆 Imported #11 (0x81bf…82f9 → 0xb740…dbbc) 2024-08-29 16:03:54 Node uses the following topology indices index_in_gossip_topology=Some(ValidatorIndex(0)) index_in_parachain_authorities=Some(Active(ValidatorIndex(0))) 2024-08-29 16:03:57 💤 Idle (2 peers), best: #11 (0xb740…dbbc), finalized #8 (0x2282…6f0d), ⬇ 2.7kiB/s ⬆ 2.1kiB/s 2024-08-29 16:04:00 🏆 Imported #12 (0xb740…dbbc → 0x49f4…fbd8) 2024-08-29 16:04:02 💤 Idle (2 peers), best: #12 (0x49f4…fbd8), finalized #9 (0x470a…9184), ⬇ 2.4kiB/s ⬆ 2.1kiB/s 2024-08-29 16:04:06 🙌 Starting consensus session on top of parent 0x49f420d6d1d84031712f8b7535fdcd73fda740e7a1db6c61c4cf35d8aef9fbd8 2024-08-29 16:04:06 🎁 Prepared block for proposing at 13 (5 ms) [hash: 0xd5cb11f7ebc5ece3f9a6c304ab5f6209f1ba148c334efc0844e76dd0815b4ff9; parent_hash: 0x49f4…fbd8; extrinsics (2): [0x9e7c…30ff, 0x7e55…1806] 2024-08-29 16:04:06 🔖 Pre-sealed block for proposal at 13. Hash now 0xa5022ff182095544d5db8714b2c10d81c75d8aff53c53515f22fcd7220ce97d5, previously 0xd5cb11f7ebc5ece3f9a6c304ab5f6209f1ba148c334efc0844e76dd0815b4ff9. 2024-08-29 16:04:06 🏆 Imported #13 (0x49f4…fbd8 → 0xa502…97d5) 2024-08-29 16:04:06 ♻️ Reorg on #13,0xa502…97d5 to #13,0xb6c8…5c34, common ancestor #12,0x49f4…fbd8 2024-08-29 16:04:06 🏆 Imported #13 (0x49f4…fbd8 → 0xb6c8…5c34) 2024-08-29 16:04:07 💤 Idle (2 peers), best: #13 (0xb6c8…5c34), finalized #10 (0x81bf…82f9), ⬇ 4.0kiB/s ⬆ 4.0kiB/s 2024-08-29 16:04:11 🥩 New Rounds for validator set id: 1 with session_start 11 2024-08-29 16:04:11 🥩 Concluded mandatory round #11 2024-08-29 16:04:12 🏆 Imported #14 (0xb6c8…5c34 → 0xb51a…f125) 2024-08-29 16:04:12 💤 Idle (2 peers), best: #14 (0xb51a…f125), finalized #11 (0xb740…dbbc), ⬇ 2.8kiB/s ⬆ 3.5kiB/s ...
The logs of the bob and collator01 nodes can be checked similarly.
Running a Test
To run a test against the spawned network, you can use the Zombienet DSL to define the test scenario. For example, you can create a file named spawn-a-basic-network-test.zndsl with the following content:
Description: Test the basic functionality of the network (minimal example)
Network: ./spawn-a-basic-network.toml
Creds: config

alice: is up
alice: parachain 100 is registered within 225 seconds
alice: parachain 100 block height is at least 10 within 250 seconds

bob: is up
bob: parachain 100 is registered within 225 seconds
bob: parachain 100 block height is at least 10 within 250 seconds

# metrics
alice: reports node_roles is 4
alice: reports sub_libp2p_is_major_syncing is 0

bob: reports node_roles is 4

collator01: reports node_roles is 4
This test scenario checks to verify the following:
- the nodes are running
- the parachain with ID 100 is registered within a certain timeframe (255 seconds in this example)
- the parachain block height is at least a certain number within a timeframe (in this case, 10 within 255 seconds)
- the nodes report metrics
However, you can define any test scenario following the Zombienet DSL syntax.
To run the test, execute the following command:
This command will execute the test scenario defined in the spawn-a-basic-network-test.zndsl file on the network. If successful, the terminal will display the test output, indicating whether the test passed or failed. For example, the following output shows the test results for the basic network:
| 🛎️ Tests are currently running. Results will appear at the end | |
| Test Results | |
|---|---|
| 8/29/2024, 4:34:53 PM | ✅ alice: is up (104ms) |
| 2024-08-29 16:34:54 API/INIT: RPC methods not decorated: chainHead_v1_body, chainHead_v1_call, chainHead_v1_continue, chainHead_v1_follow, chainHead_v1_header, chainHead_v1_stopOperation, chainHead_v1_storage, chainHead_v1_unfollow, chainHead_v1_unpin, chainSpec_v1_chainName, chainSpec_v1_genesisHash, chainSpec_v1_properties, transactionWatch_v1_submitAndWatch, transactionWatch_v1_unwatch, transaction_v1_broadcast, transaction_v1_stop | |
| 2024-08-29 16:34:54 API/INIT: rococo/1014000: Not decorating unknown runtime apis: 0x6ff52ee858e6c5bd/1, 0x91b1c8b16328eb92/1, 0x9ffb505aa738d69c/1 | |
| 8/29/2024, 4:34:56 PM | ✅ alice: parachain 100 is registered within 225 seconds (2362ms) |
| 8/29/2024, 4:34:58 PM | ✅ alice: parachain 100 block height is at least 10 within 250 seconds (2037ms) |
| 8/29/2024, 4:34:58 PM | ✅ bob: is up (43ms) |
| 2024-08-29 16:34:58 API/INIT: RPC methods not decorated: chainHead_v1_body, chainHead_v1_call, chainHead_v1_continue, chainHead_v1_follow, chainHead_v1_header, chainHead_v1_stopOperation, chainHead_v1_storage, chainHead_v1_unfollow, chainHead_v1_unpin, chainSpec_v1_chainName, chainSpec_v1_genesisHash, chainSpec_v1_properties, transactionWatch_v1_submitAndWatch, transactionWatch_v1_unwatch, transaction_v1_broadcast, transaction_v1_stop | |
| 2024-08-29 16:34:58 API/INIT: rococo/1014000: Not decorating unknown runtime apis: 0x6ff52ee858e6c5bd/1, 0x91b1c8b16328eb92/1, 0x9ffb505aa738d69c/1 | |
| 8/29/2024, 4:35:00 PM | ✅ bob: parachain 100 is registered within 225 seconds (2206ms) |
| 8/29/2024, 4:35:02 PM | ✅ bob: parachain 100 block height is at least 10 within 250 seconds (2037ms) |
| 8/29/2024, 4:35:02 PM | ✅ alice: reports node_roles is 4 (0ms) |
| 8/29/2024, 4:35:02 PM | ✅ alice: reports sub_libp2p_is_major_syncing is 0 (0ms) |
| 8/29/2024, 4:35:02 PM | ✅ bob: reports node_roles is 4 (1ms) |
| 8/29/2024, 4:35:02 PM | ✅ collator01: reports node_roles is 4 (22ms) |
| 📓 To see the full logs of the nodes please go to: | |
| /var/folders/f4/7rdt2m9d7j361dm453cpggbm0000gn/T/zombie-68b7ea2539c6ce9ad6350d8a88674147_-90400-wSMnGnsj9Gnu/logs | |
| Result: 10/10 | |
| exit code 0 | |